PULSY Solutions (Web)
Create a PULSY Account
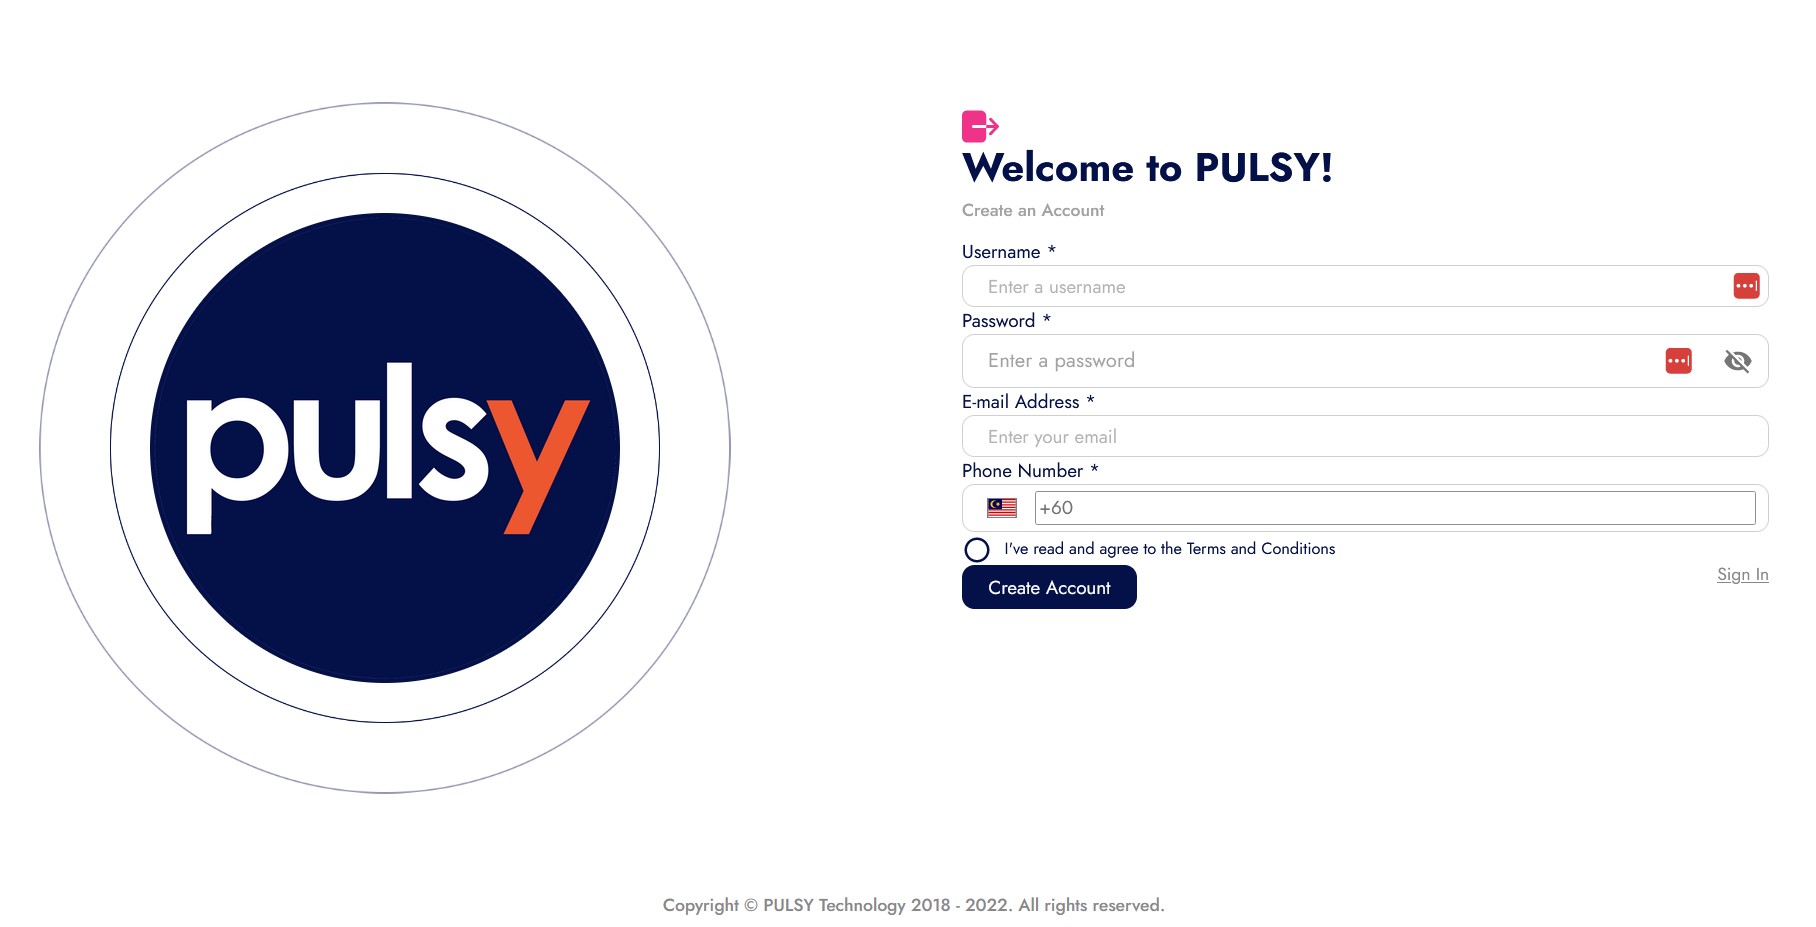
In order to use the system, user require to login first into the system. To do that you need to create/register new account first.
- Navigate to https://app.pulsy.io/signup for the account registration.
- Enter your username. (username cannot be same as it a unique for every user)
- Enter your password.
- Enter E-mail address. (you will received an email from the system as you done create account)
- Enter your phone number based on the country.
- Make sure to check “I’ve read and agree to the Terms and Conditions” .before finish it up.
- Click the button “Create Account”.
Fill the information provide on the webpage form. Make sure to check to the terms and conditions.
Sign-in to Your Account
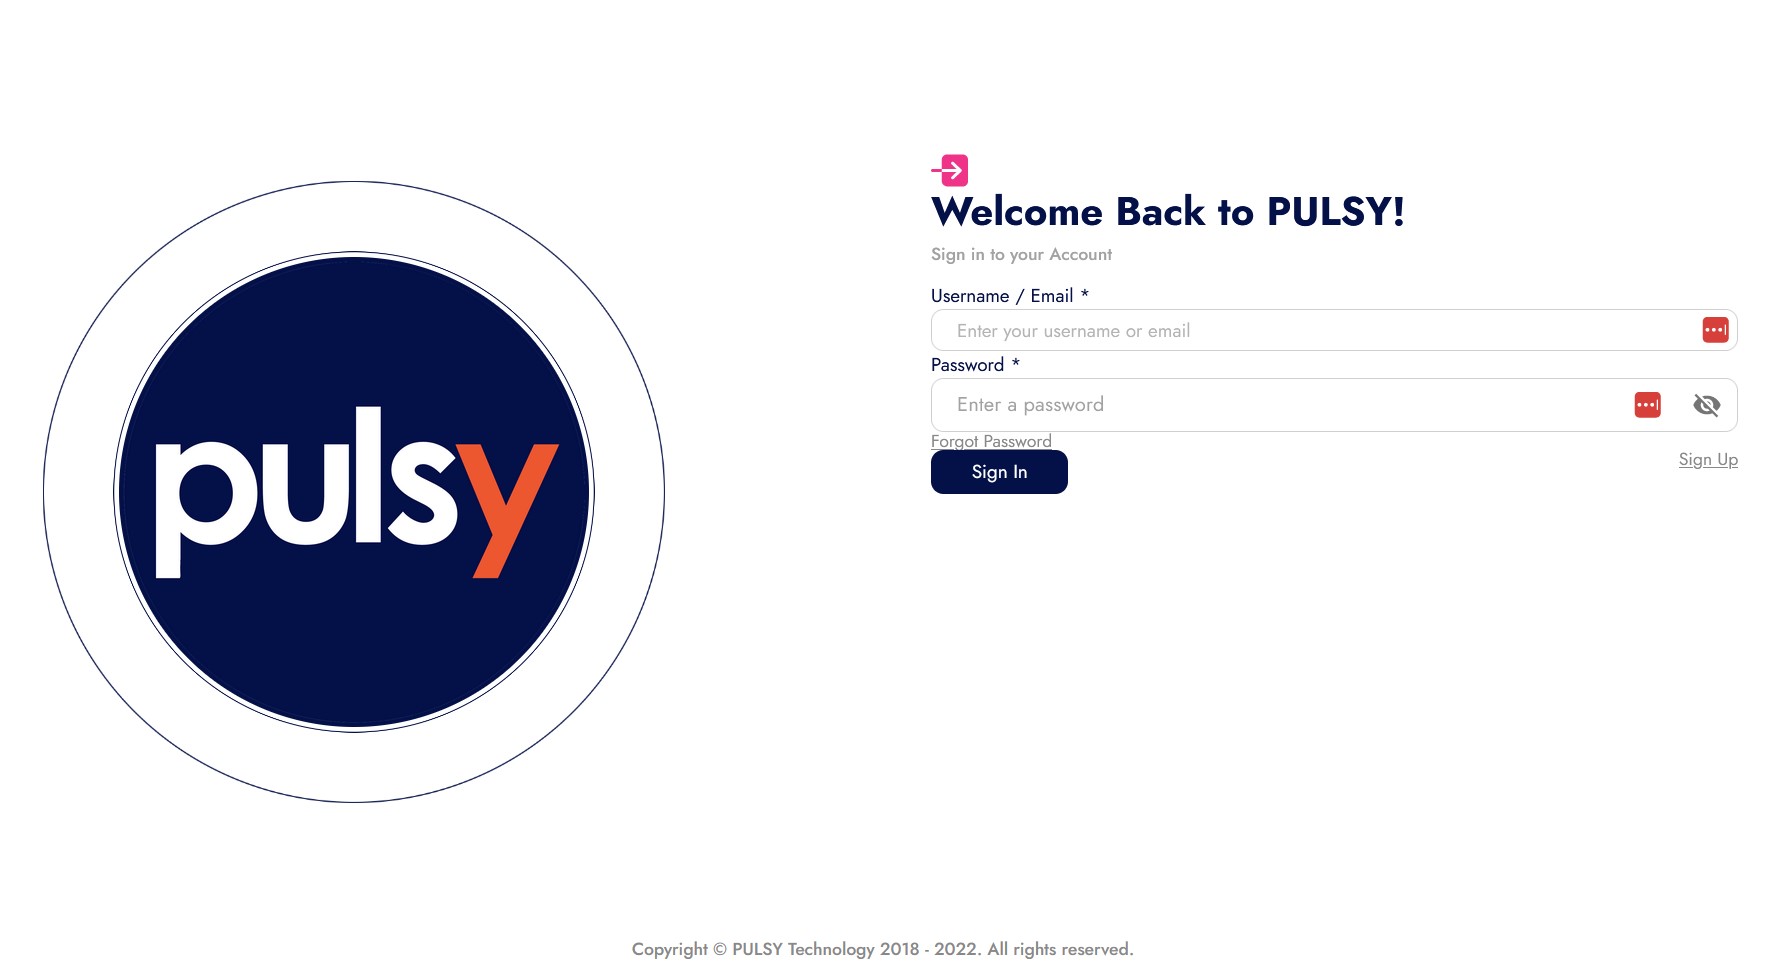
Log in into the system from https://app.pulsy.io/signin. Make sure to use correct username/email and password.
Login Page
- Enter your username or email in text box. (if you don’t have an account yet click on “Sign UP”) ** refer to sign-up topic
- Enter you password. (if you forget your password, please click on “Forgot Password” below the text box) **refer to reset password topic
Checking User
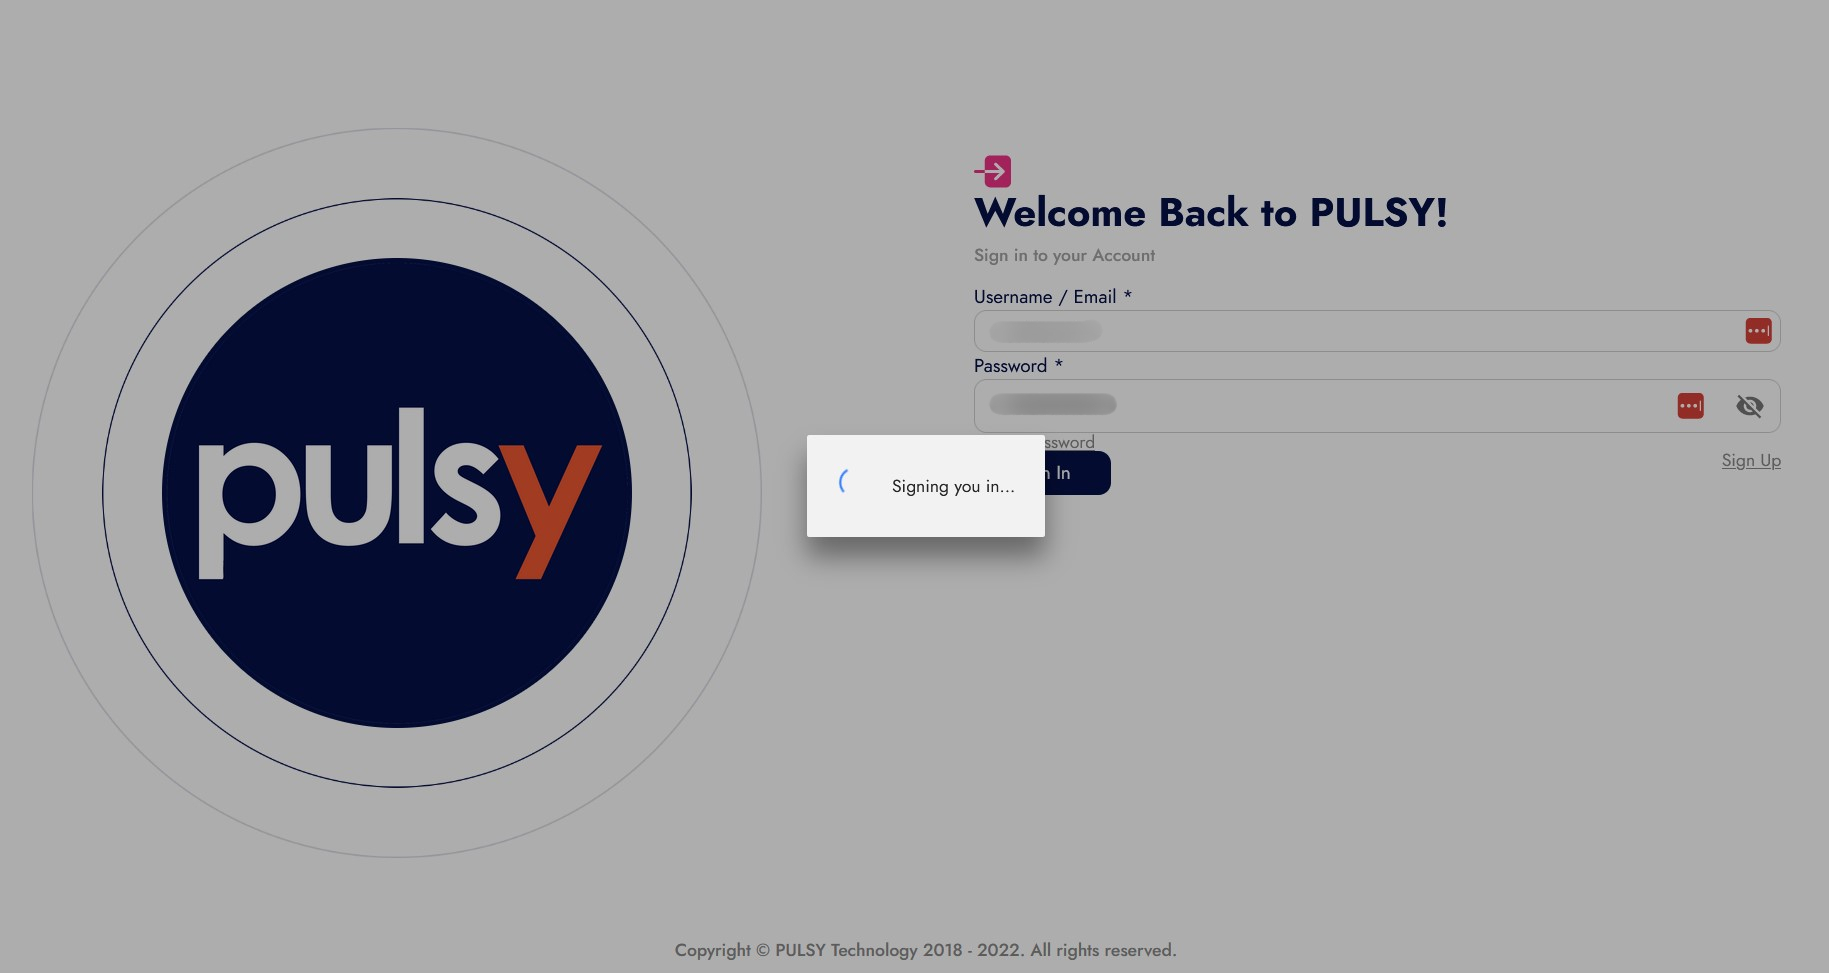
- After you have done login, the system will sign you in then it will redirect you to the main page “Dashboard“.
Forgot Your Password Account
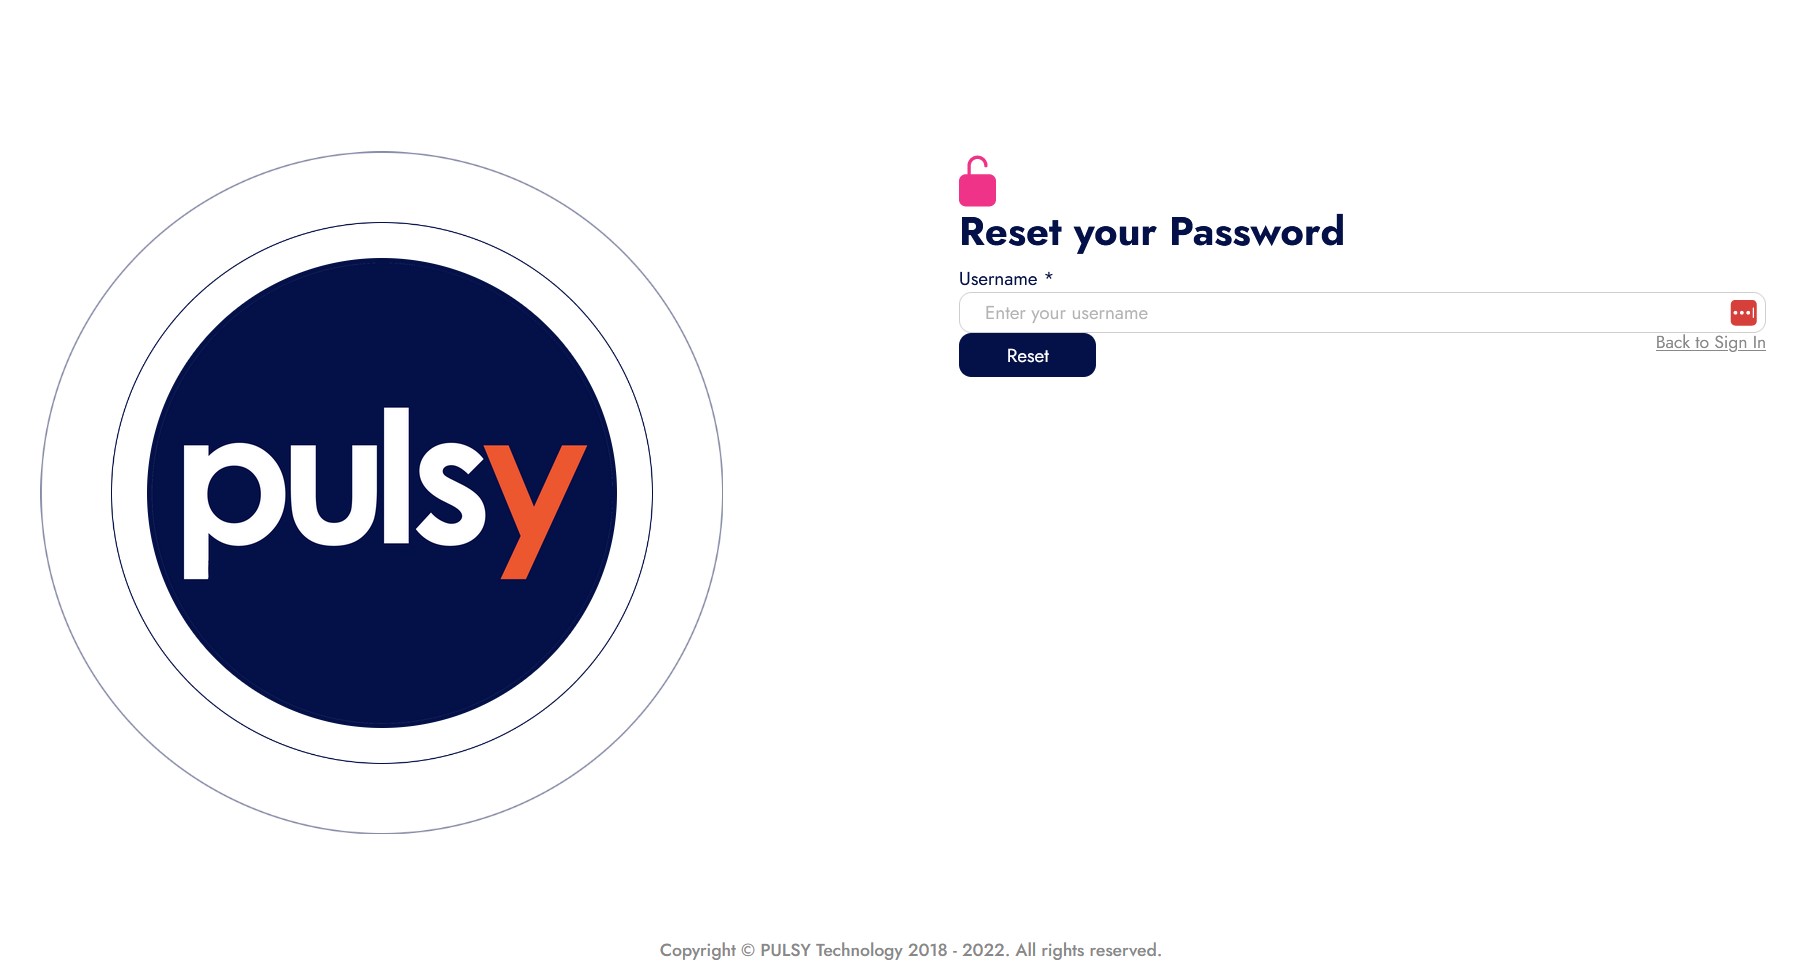
If you have forgotten your password, click on Forgot Password at the login page. and follow this step above:
- Enter your username.
- Click “Reset” button.
- You will received a password reset notification through an email. **refer to verify email topic
- Inside your email, there will be a code for you.
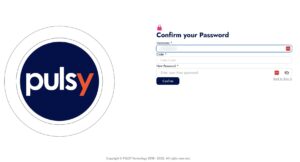
- Use this code as you reenter your username with a New Password
Reset Password Page
Enter Code Page
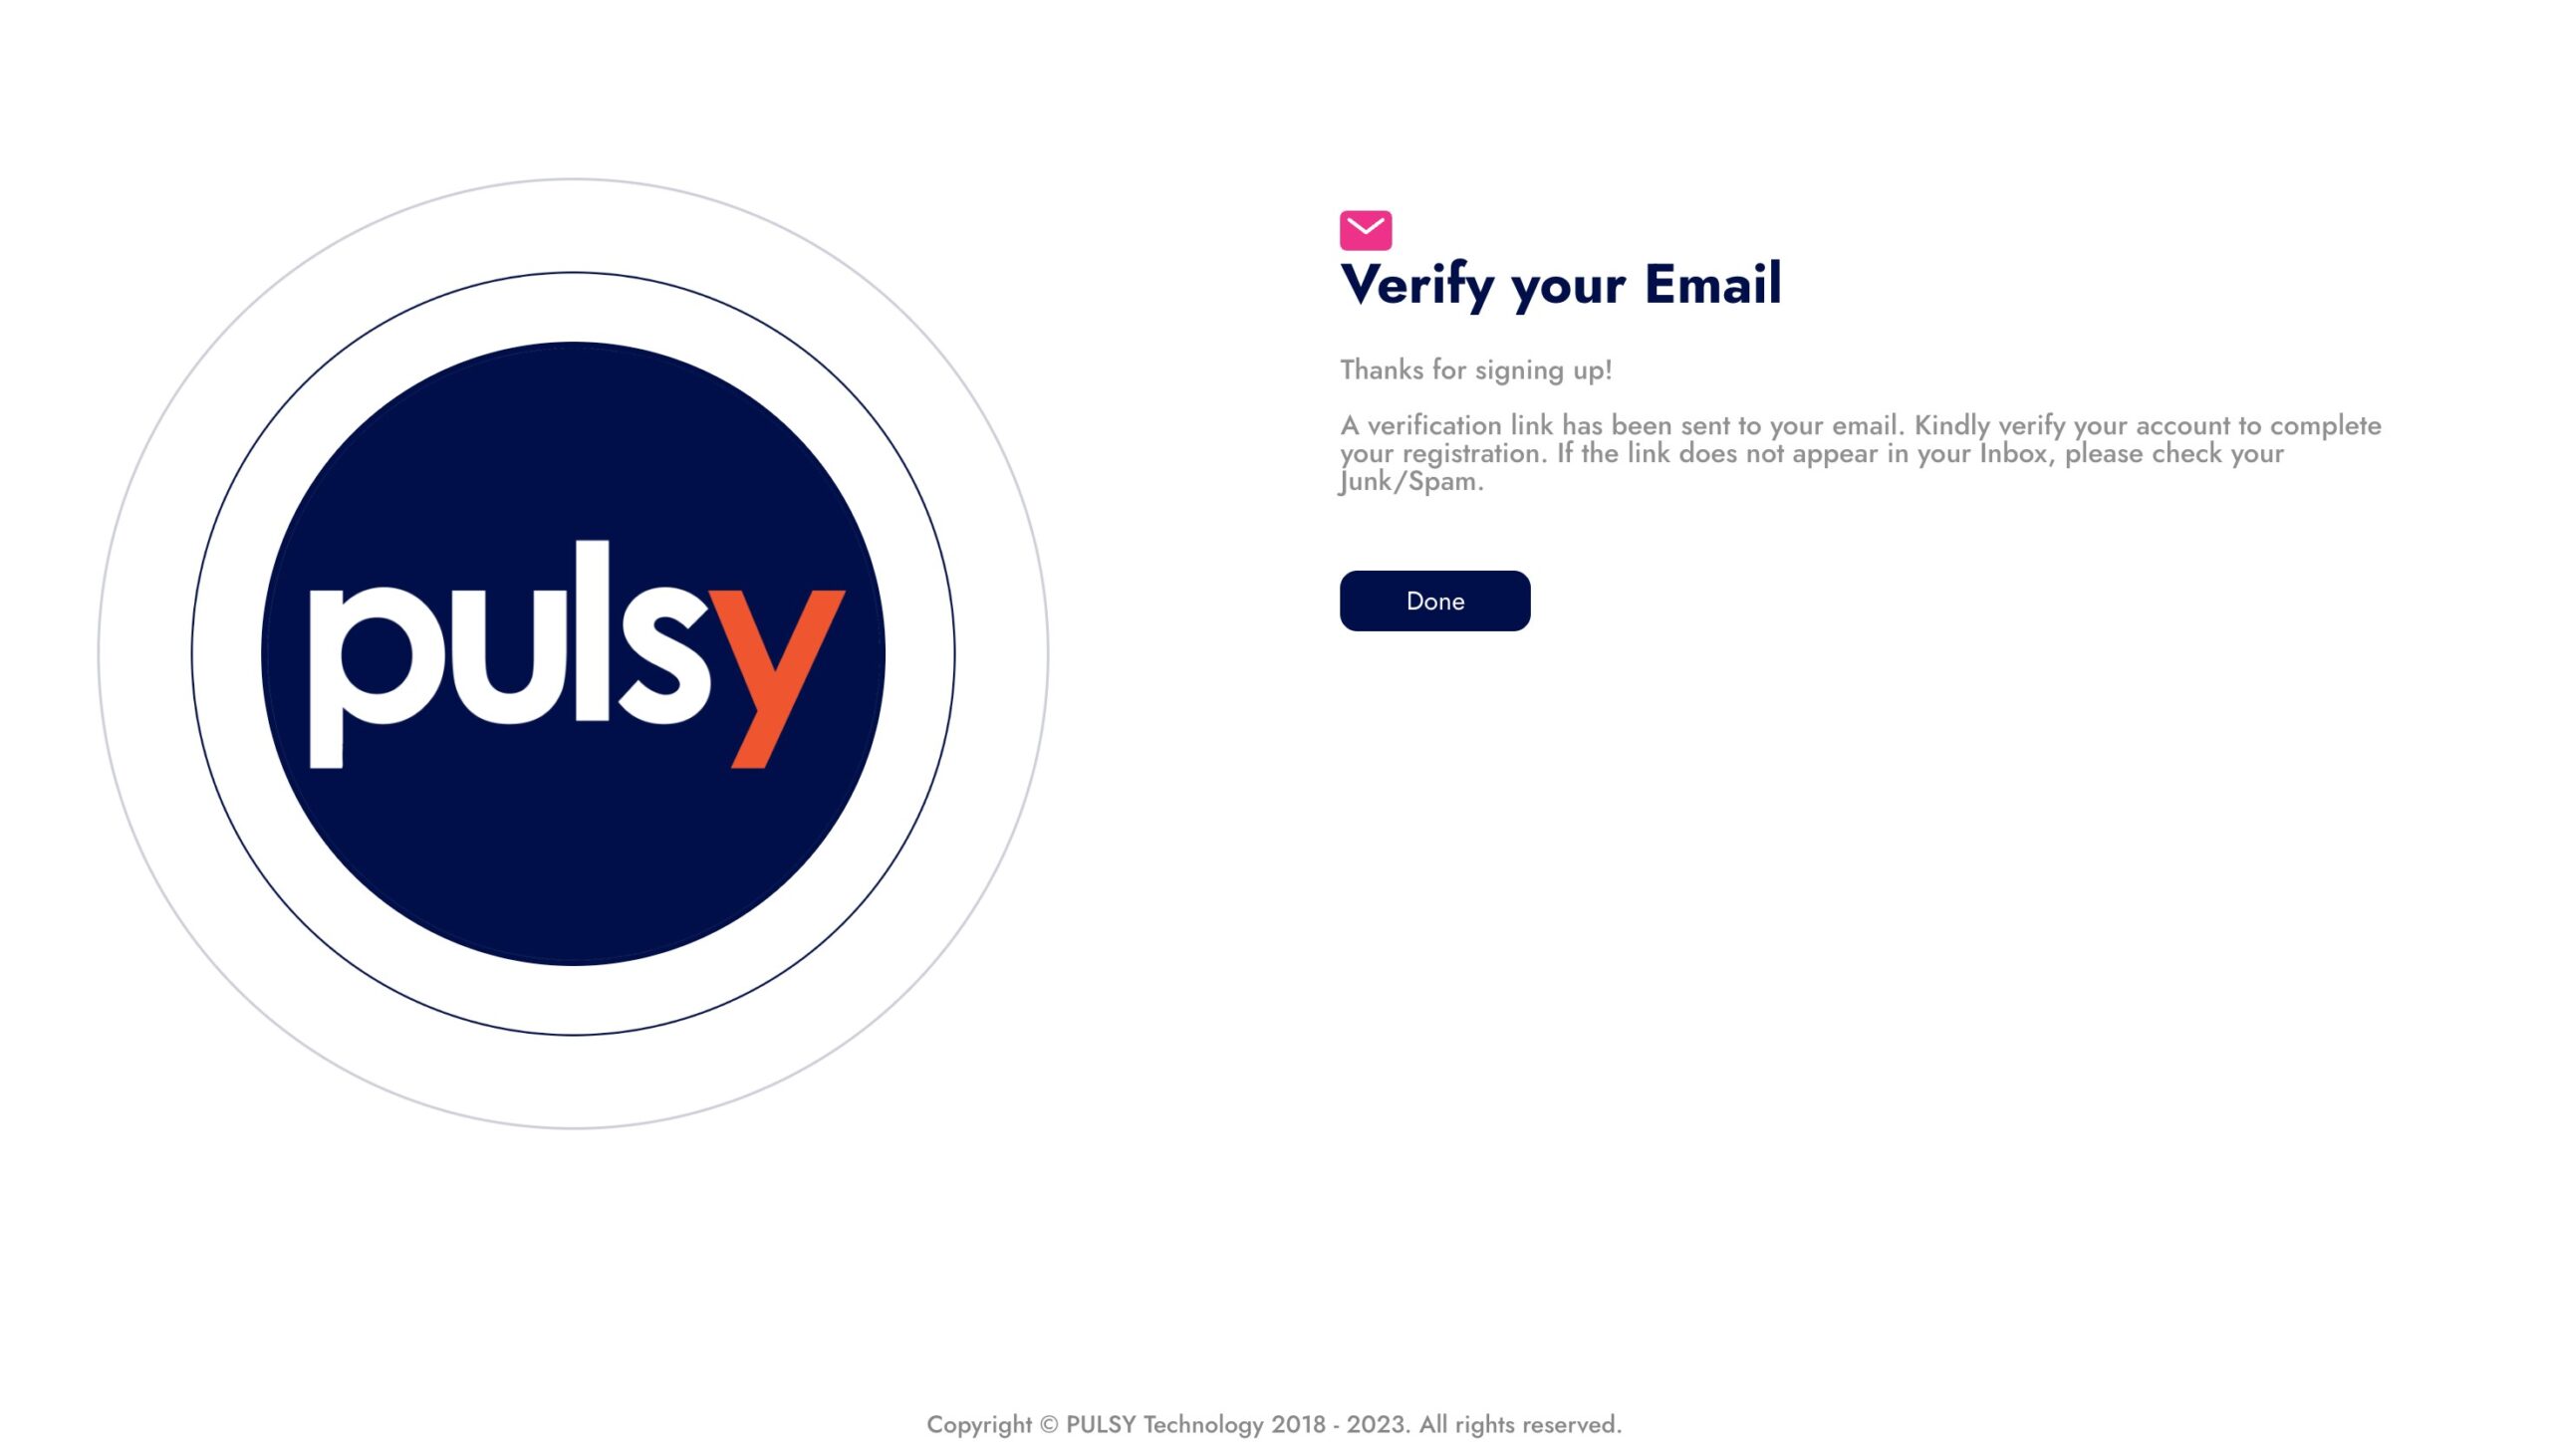
Verify Your Account
You will receive a notification through your email if you setting up your new account.
Creating New Account
- While you are creating your account, you will get an email from our system. Open the email based on your register email address (eg. gmail, yahoo, etc). **refer to sign up
- If you don’t verify your account, you wont be able to log in to the system.
- To finish creating your account, simply click the link given to you from inbox.
- To see if your account is verified, try to sign into the application/system.
- Make sure to check on inbox or spam click on the “Verify Email” button to verify. The user will than navigate to https://app.pulsy.io/signIn.
Air Panel
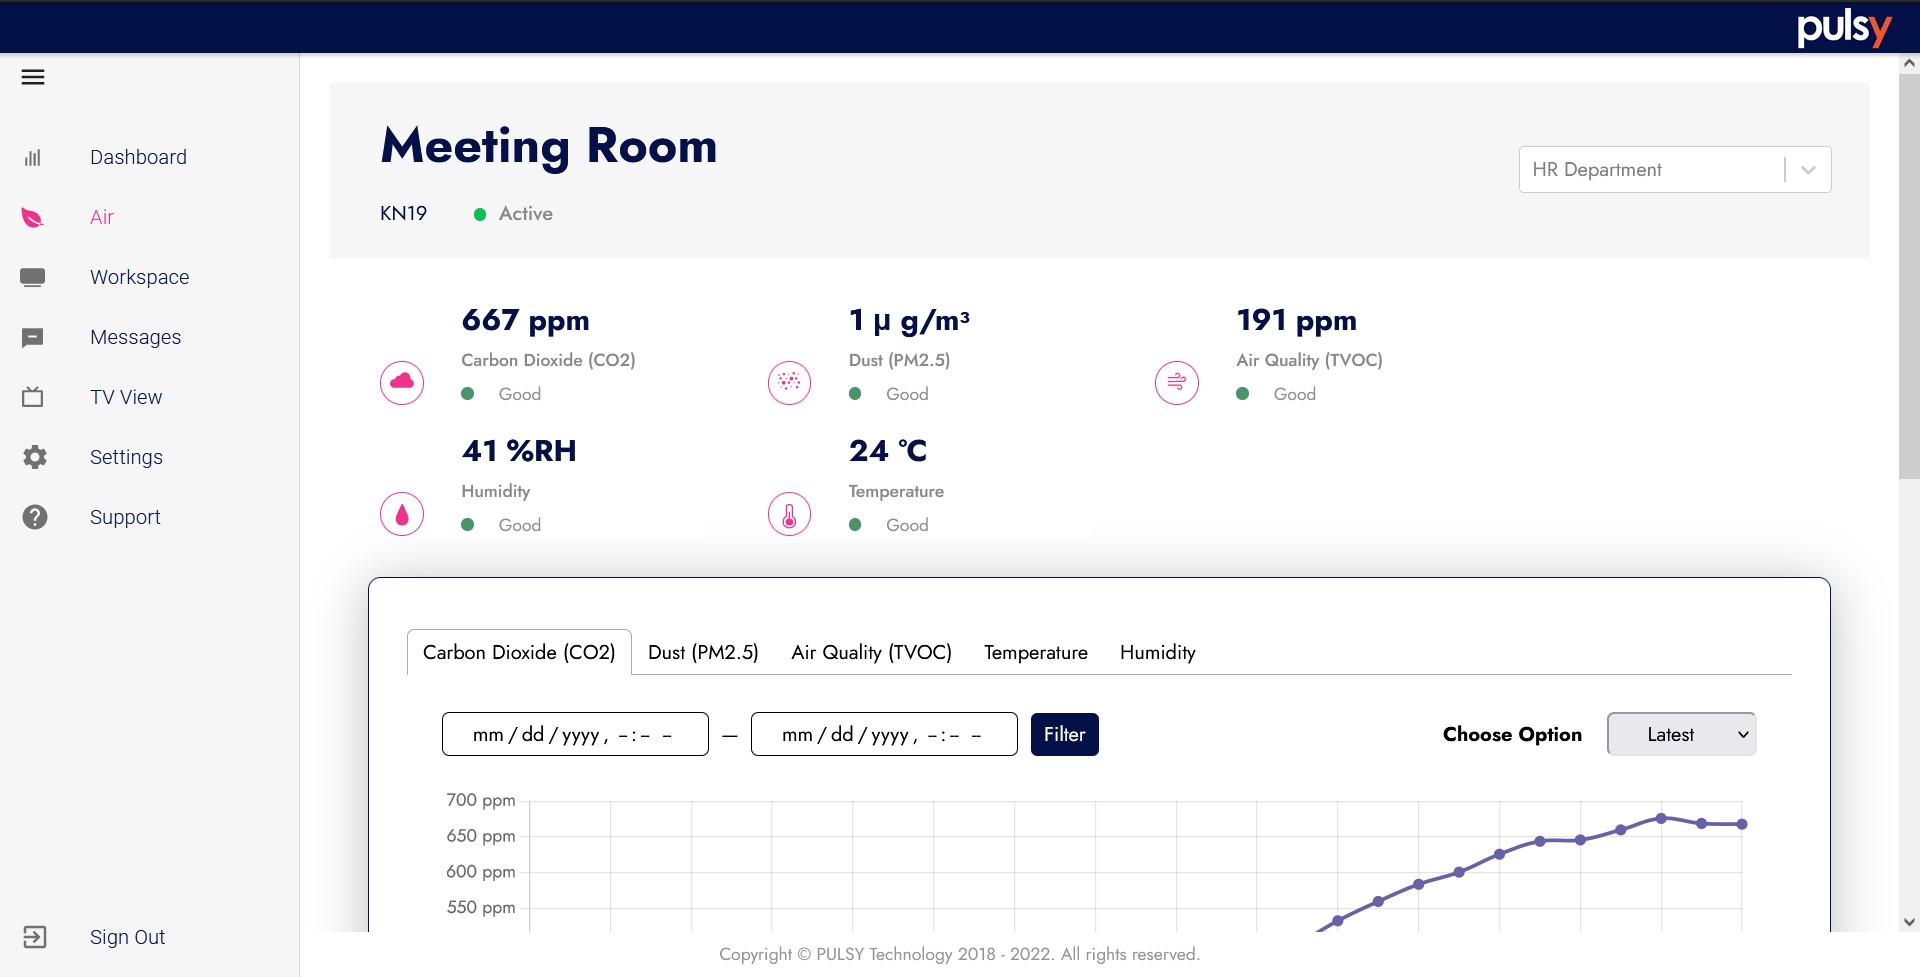
Air panel is an overview for the quality of air that helps administrators to keep a look for air quality in the area.
Graph View
- Inside graph will show the time on horizontal and level that are measure based on the type of parameter. (eg. CO2, PM2.8, C°, etc)
- To change the graph, click the tab on top of the graph based on what you want to see.
- You can also filter the date and time, or simply by choose the option whether to see the graph based on “Latest time“, “Day“, “Week” or “All the time“.
- You can download csv. file to save it as document for other uses.
Sensor Description
- The sensor can track 5 different parameter, which is carbon dioxide (CO2), Dust Particle(PM2.5), Air Quality (Total Volatile Organic Compounds), Humidity and Temperature.

| Sensor | Description |
|---|---|
| Carbon Dioxide (CO2) | CO2 is odorless gas, but at high concentrations it can be toxic to humans and animals, affecting breathing and heart rate. It can also be used to measure for airflow within a room to help adjust heating and air conditioning settings to be more energy efficient. |
| Dust (PM2.5) | PM2.5 refers to particulate matter with a diameter less than 2.5 micrometers (μm). Particulate matter can affect your health by causing respiratory problems and coughing, sneezing and other allergic reactions. |
| Air Quality (TVOC) | Ambient air quality is rated on a scale from good to bad by the sensor. A good rating means the air is safe to breathe whereas bad indicates an unhealthy level of air pollution. |
| Humidity | Humidity refers to the moisture in the air that can be felt as condensation on windows, walls or other surfaces. High levels of humidity can lead to mold growth as well as affect the comfortability of your home. Low humidity can cause dry skin, sore throats and lead to other health problems. |
| Temperature | A temperature sensor measures the temperature of a particular object or space. This type of sensor is used to measure air temperature or the temperature of the air in a building. |
Workspace Panel
This space provide status information based on the location occupancy, user activity and attendance of the user. You can filter it to limit or to show a certain data to visible it.
Occupants View
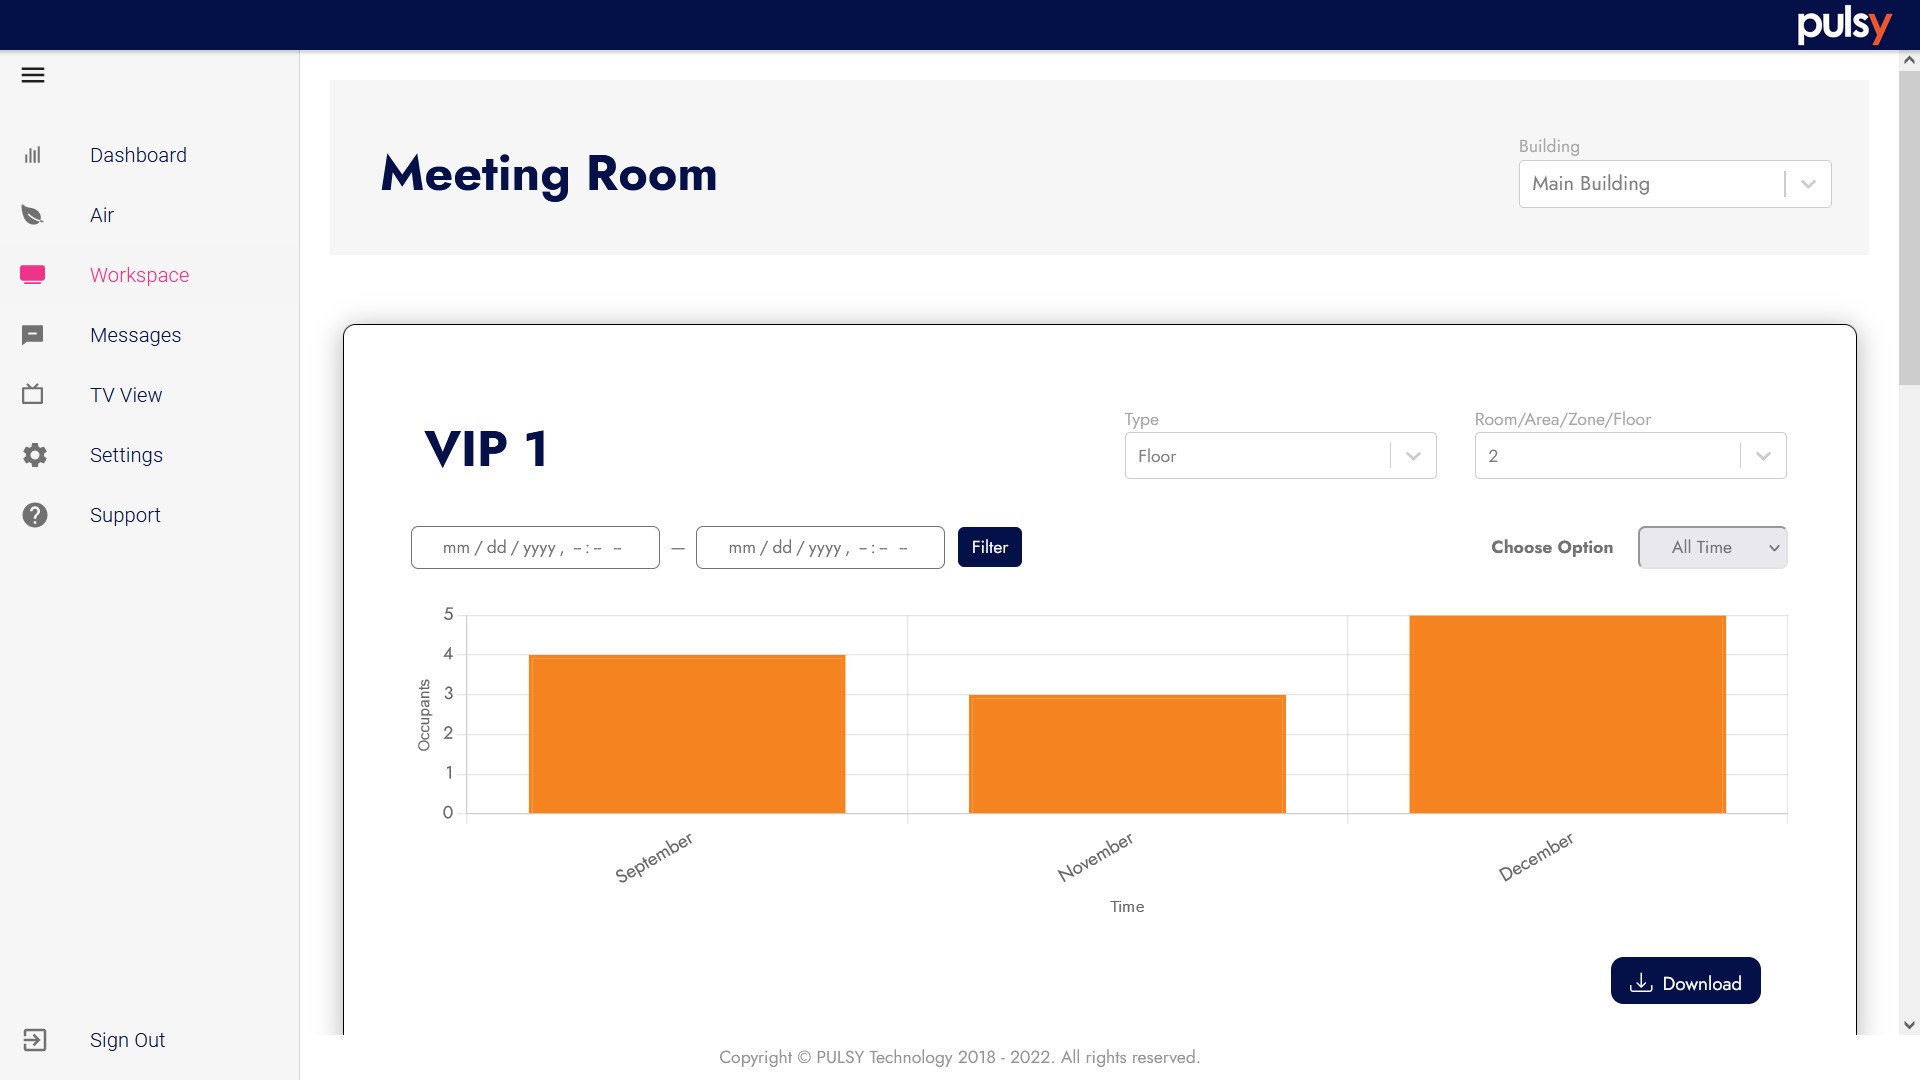
- Occupants view show the occupancy graph of your space, it tells you how many people were present in the space on different time and day
- Select the start time-date and end time-date to show to filter the view, you can also simply choose the drop-down option to show based on “Latest”, “Day”, “Week” or “All Time”.
- Select the “Type” to filter it based on type of the location, whether it “Room“, “Zone” or “Area“.
- You can download the data into a document by simply click on “Download” button
User Activity
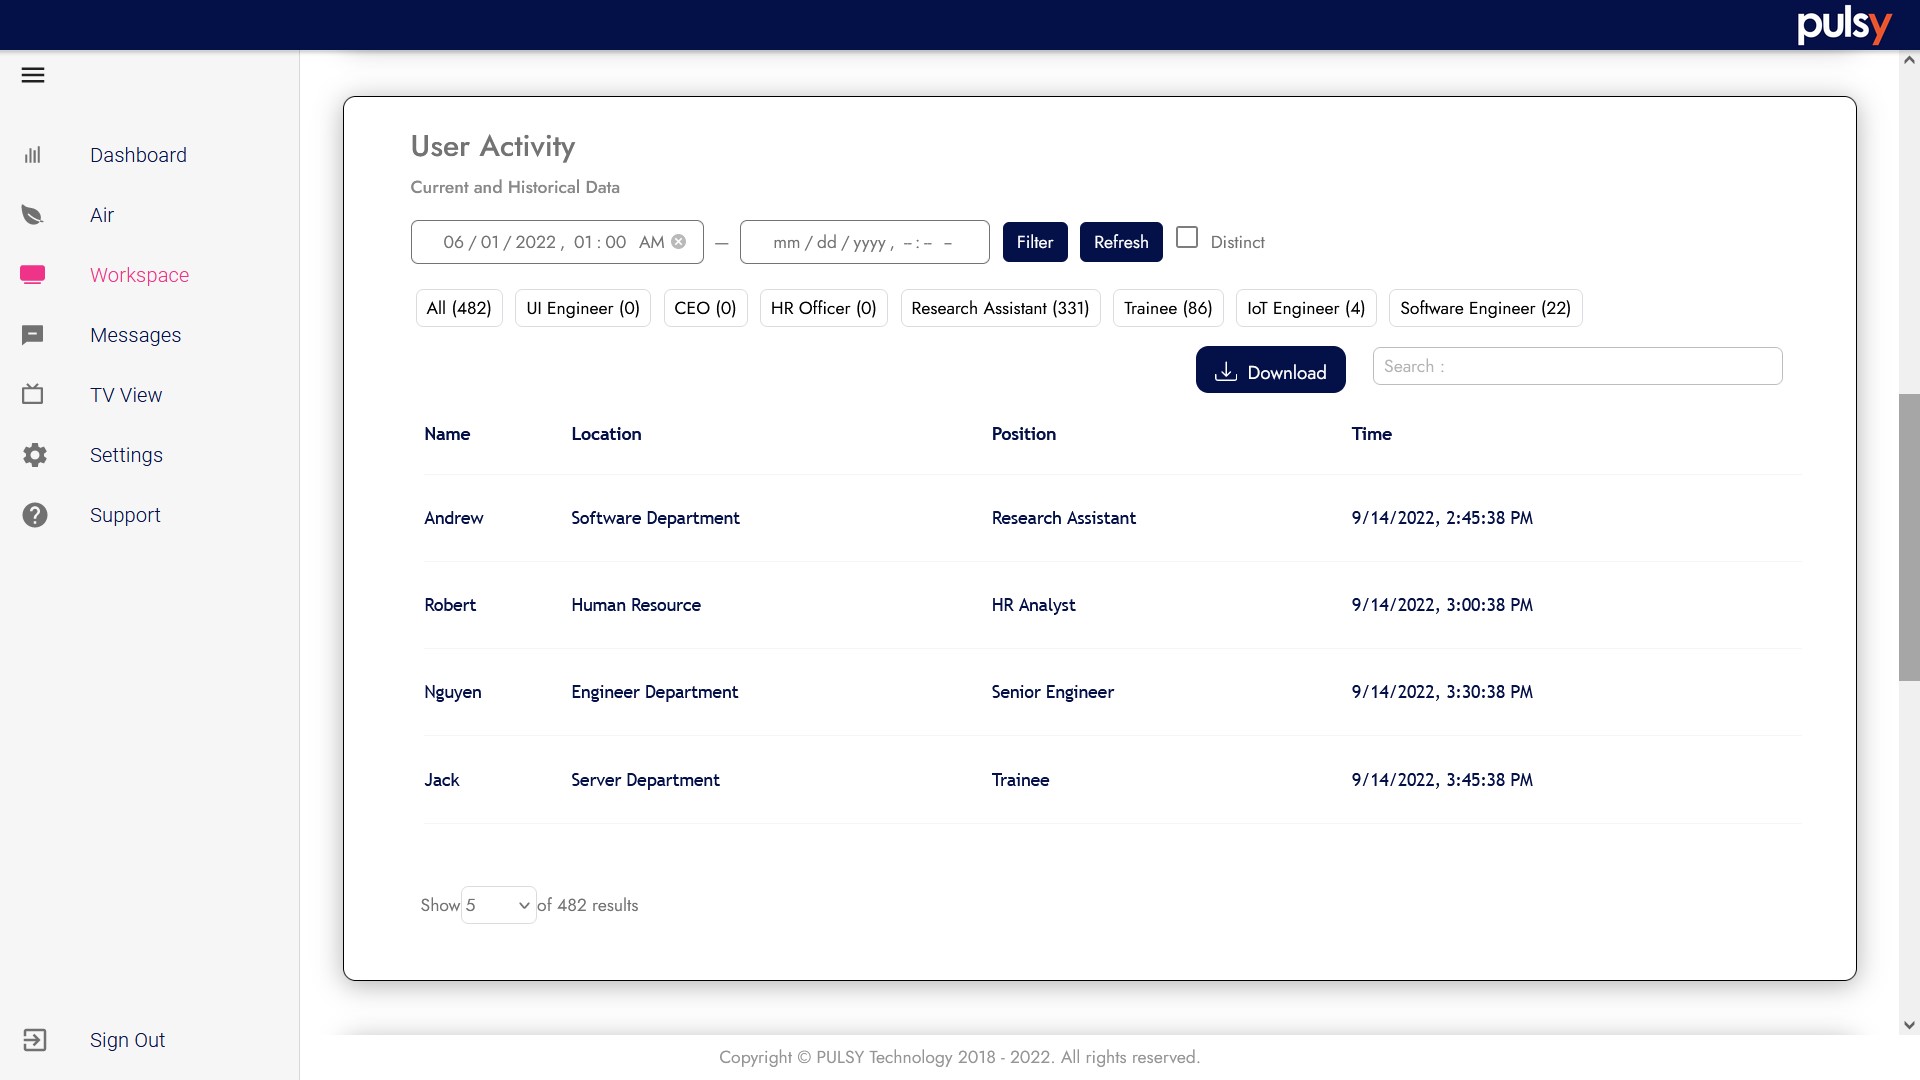
User activity are used to monitor and record of user action, it tell the exact location of the user based on when/time user present on that place. User activity will be show in table view.
- To display the data, enter start time-date and end time-date then click the “Filter” button.
- The table will show “Name“, “Location“, “Position” and “Time” for that user.
- the “Time” will set based on the exact time user enter that space.
- You can also filter it by “Position“, to identify certain people privilege level that come in-out of that area. By simply click on the position name tab that are display on top of the table.
- Or simply by typing user name on search box.
User Attendance
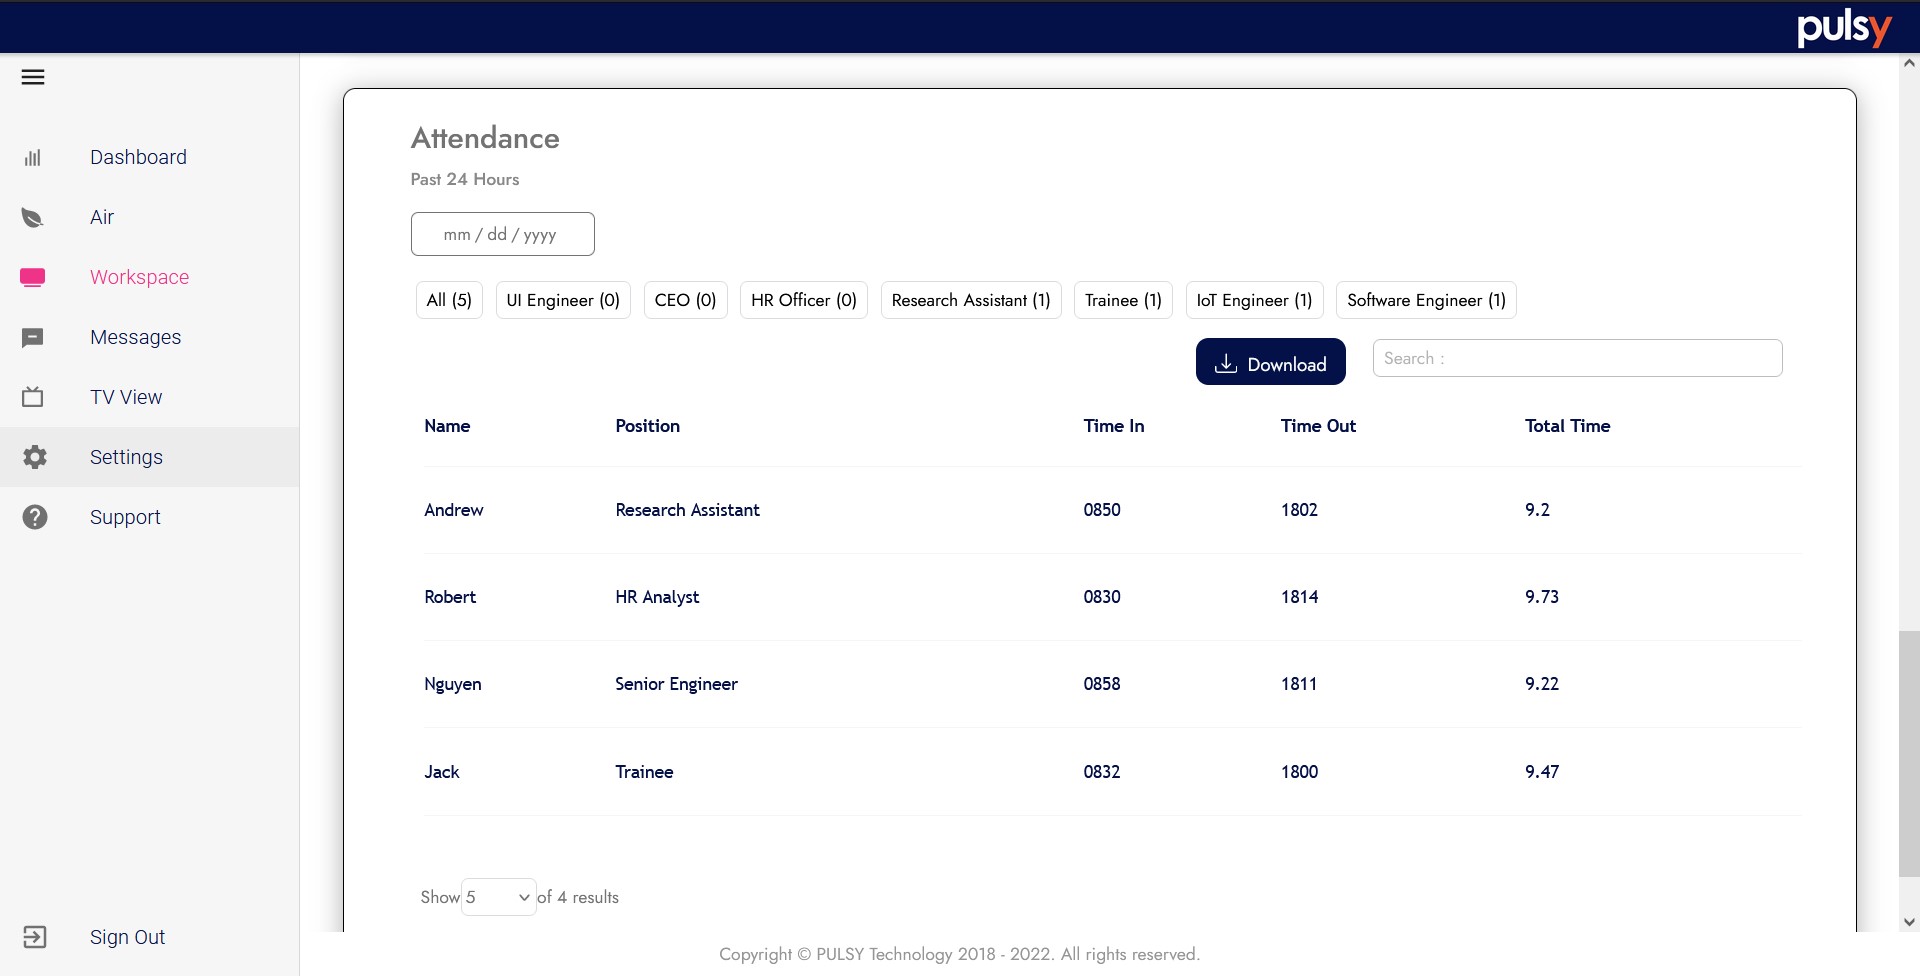
User attendance is the record of the time when a user begins/Time in their workday and when they leave from work. The table show of the past 25 hour.
- Select or enter the date on the date text box.
- The table will show all the user time in and time out.
- You can filter it based on position by selecting position name tab.
- You can also filter it using the search box to search by their name.
Send and Received Message/Notice
You can send and received a message/notice text through the messages panel. These message can be used to notify the user which are currently using this system. You can use this message as you normally would, but there is 2 type of message that can be send or received.
Important Notice
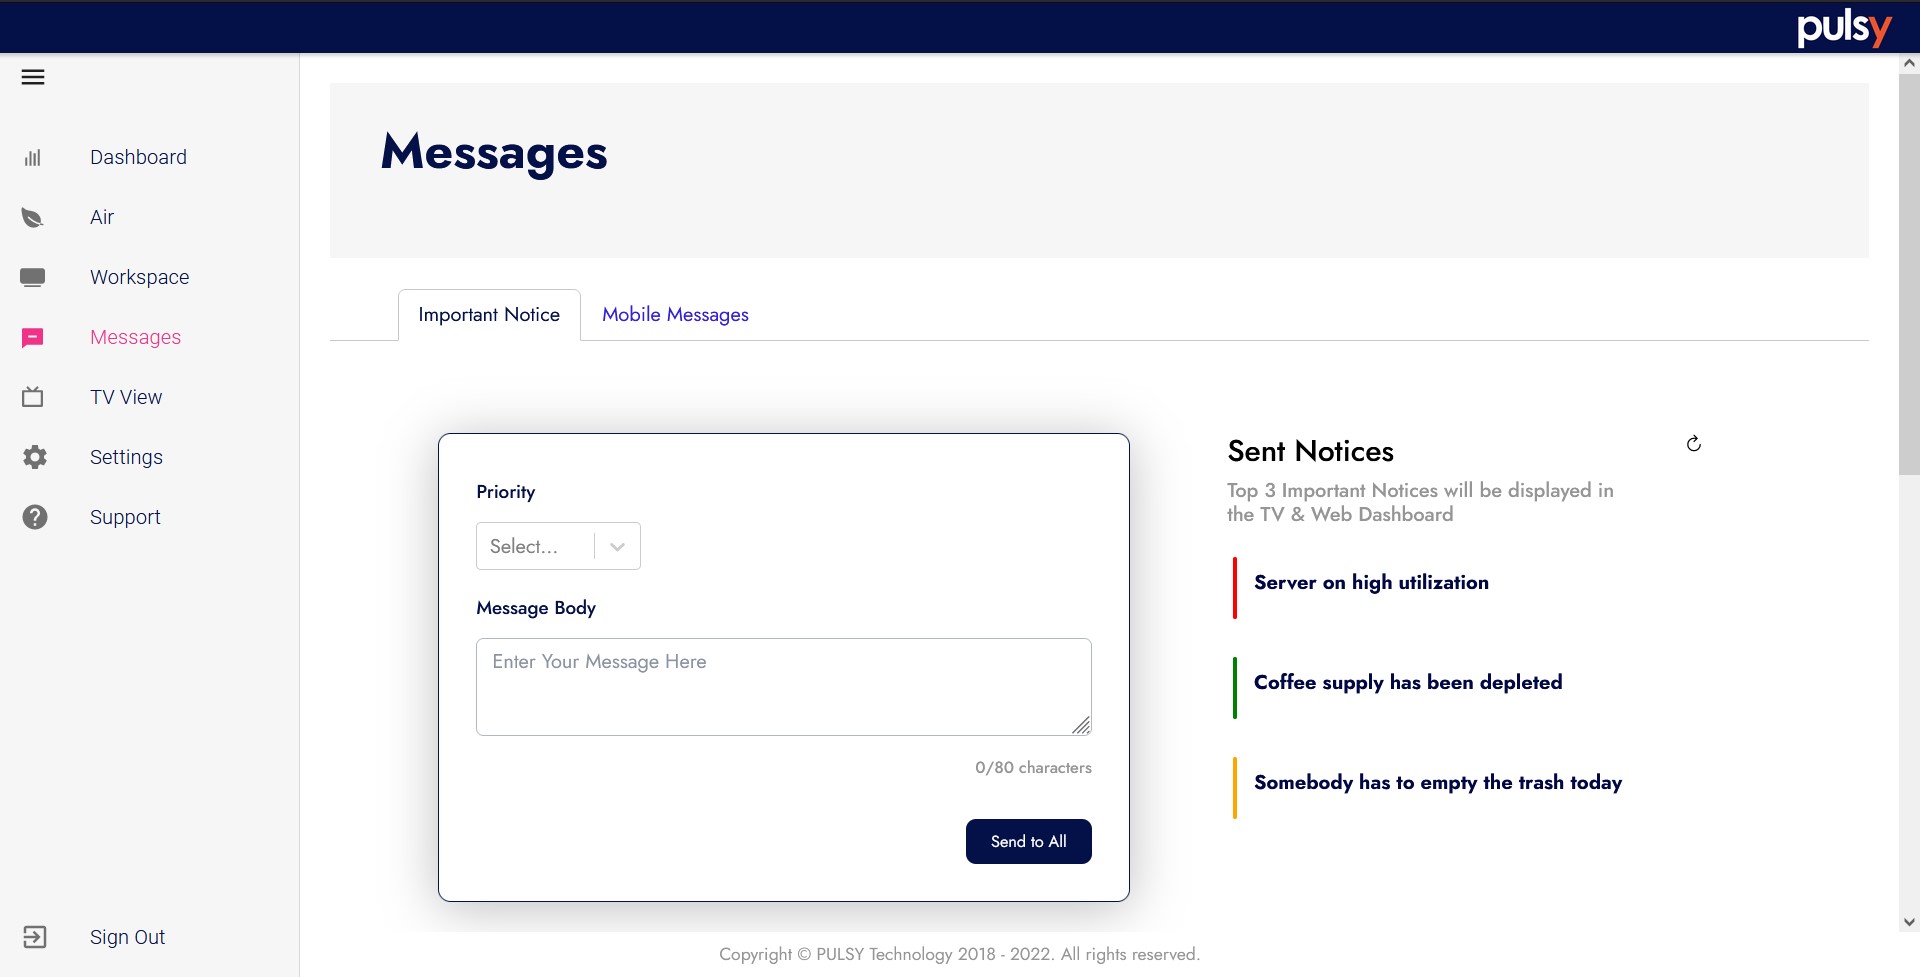
Notices are messages that are sent in order to notify your employees of important information or changes within the company.
- Click on “Important Notice” tab to send important notice to all user.
- Select the priority on the priority drop down text box.
- The highest priority will show in red color, yellow for medium while green for low priority.
- You can put any text or message that you want to notify on the “Message Body” box.
- There is a maximum character for the message that can be sent.
- Click Send to “All button” to send the message.
Mobile Messages
Mobile messages as it name is for sending message to the mobile app, they will get a notification on their mobile from the app. This type of message have more function than important notice as you can filter out on who will received the messages.
- Select a location to send the message to the user that are available on that location.
- You can filter it based on their role or set it to none, which the message will be send to all user on that area.
- Enter message title and the message body content.
- click on “Send Message” to finish it up.
- The selected user will received a notification from their device.

Message Table View
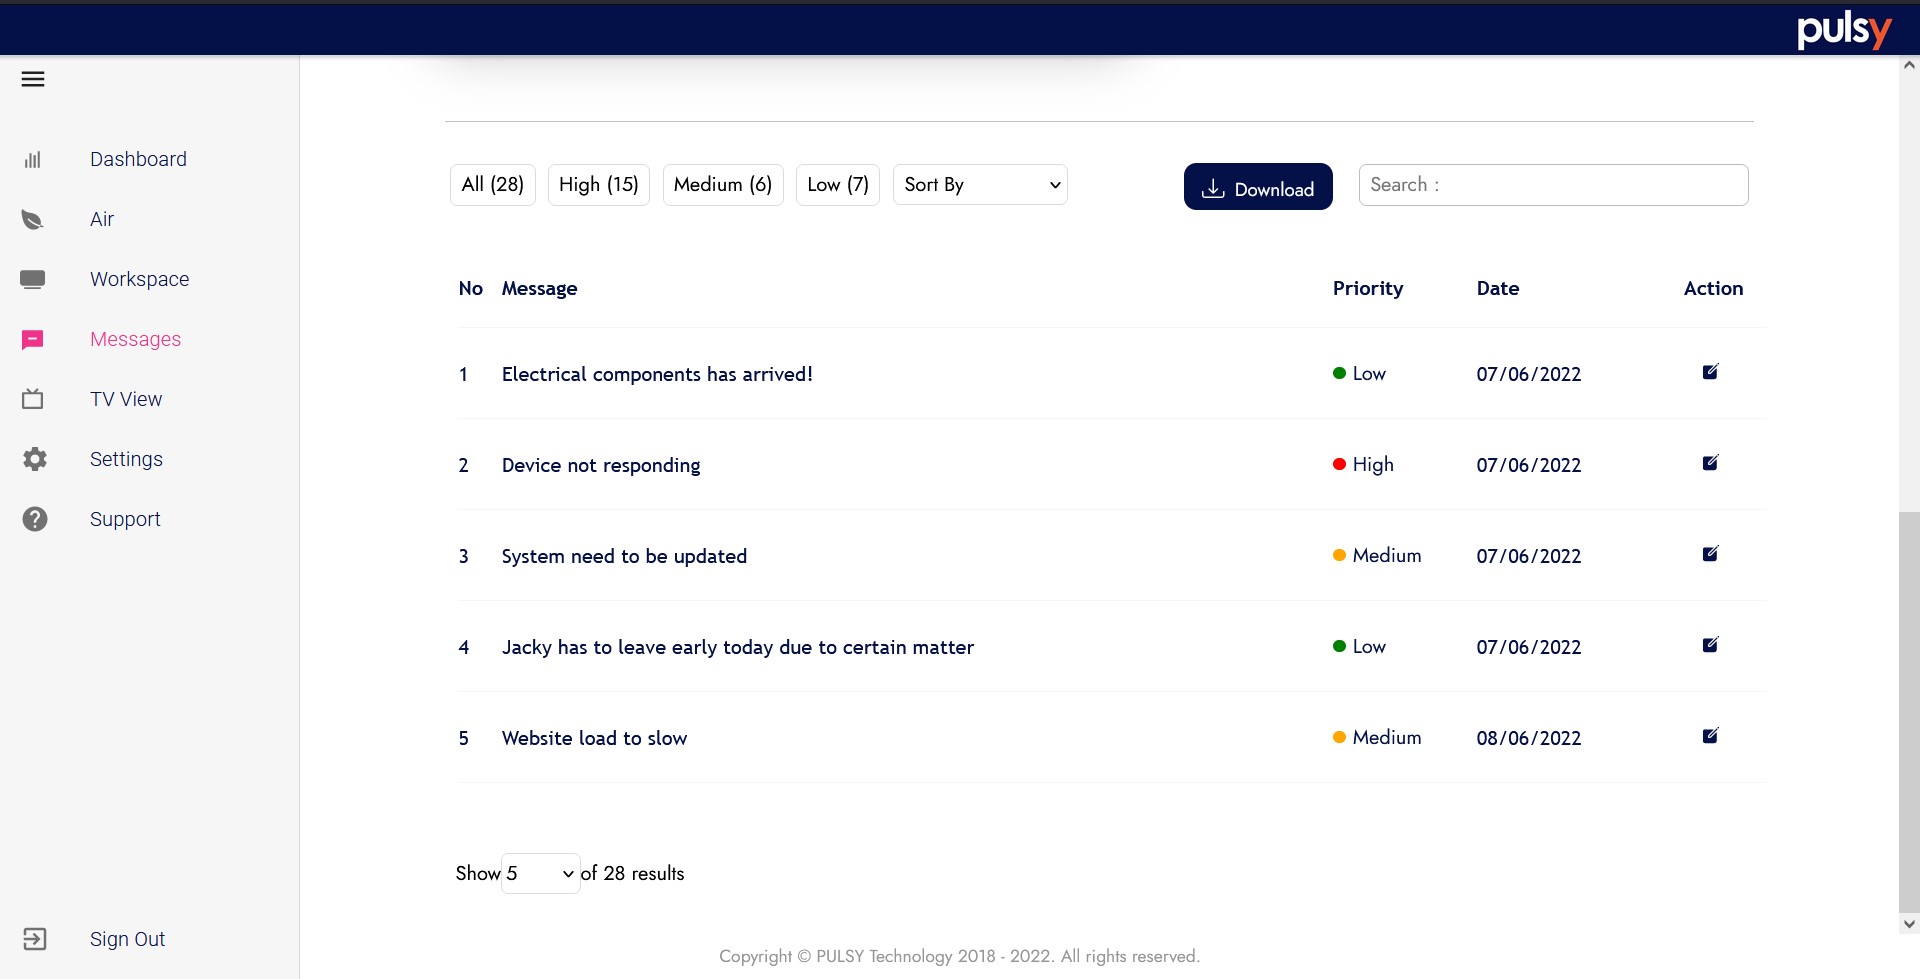
This table show all the history for the notice/message that are send.
- You can filter on how the table will show the data.
- Select any of priority name tab to filter.
- Click on Download to export data into a document.
- You can also use the search box to simply search the message text.
Manage Your Setting
Any change or update can be made here on this setting page. You need to log into the system first. **refer to sign in topics. In order to manage you data and information.
- On the left side navigation, click “Settings” to open up setting page menu
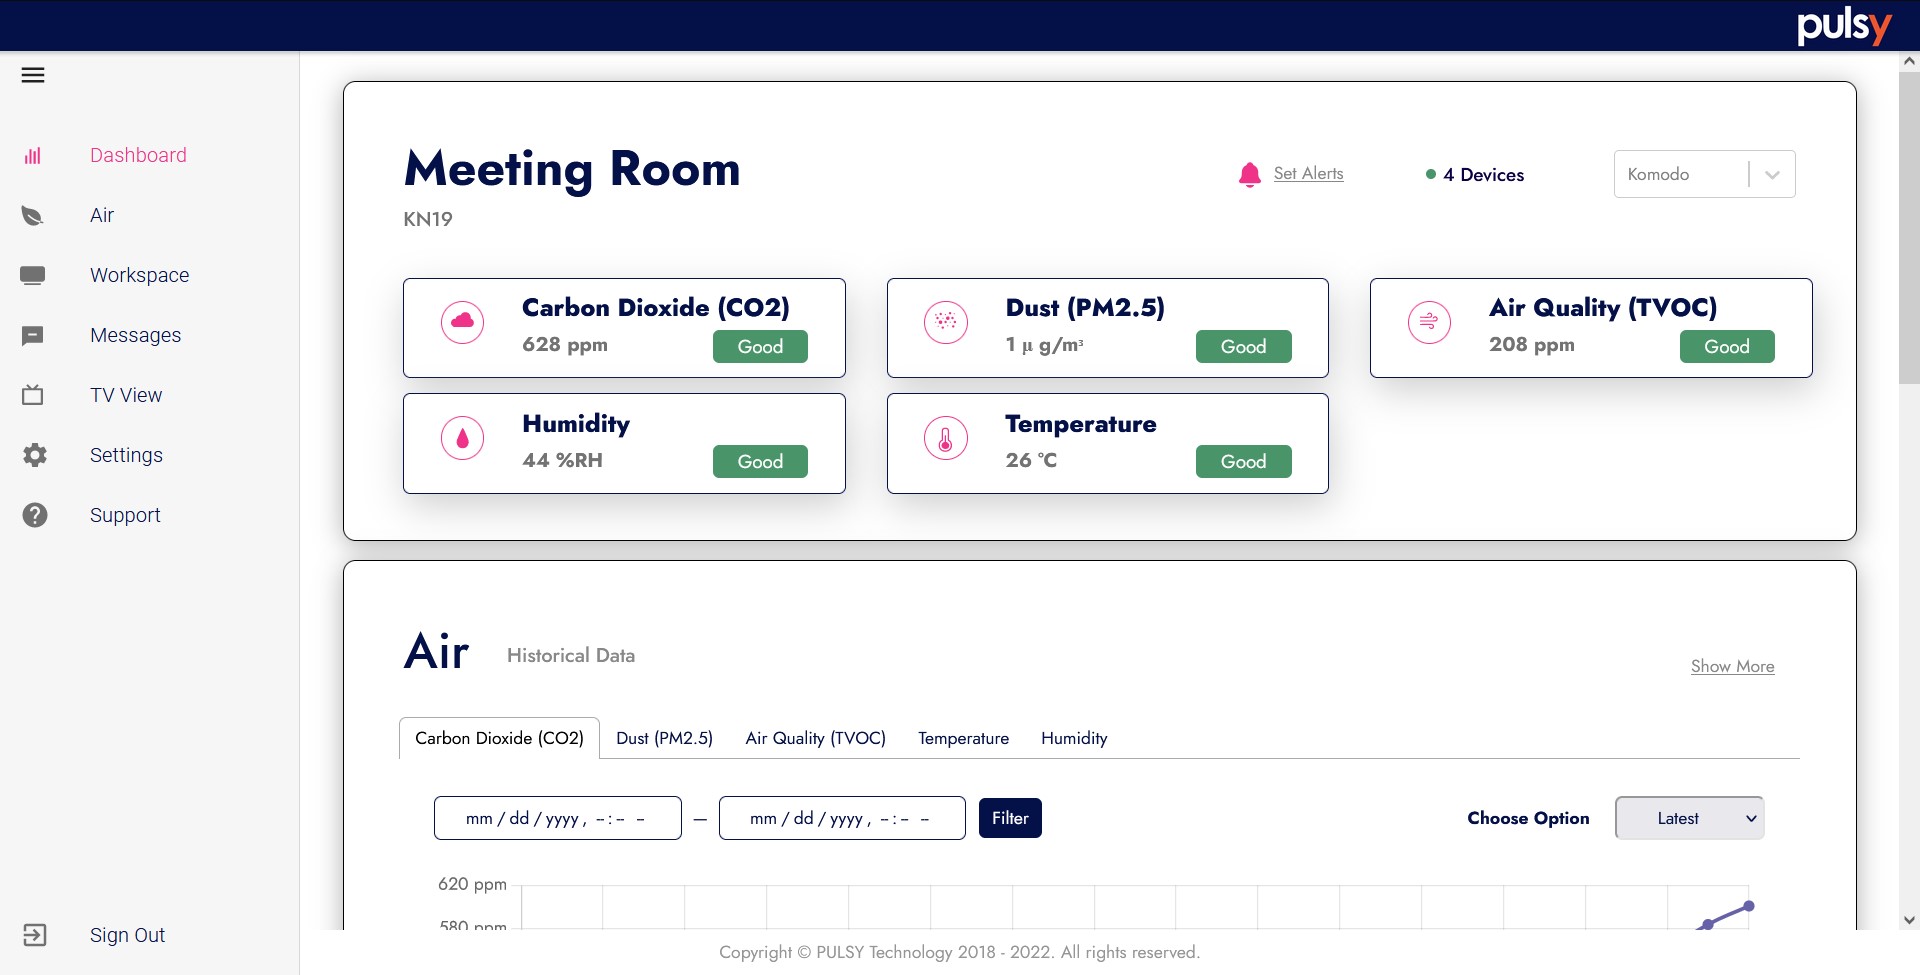
Location
You can setup your location like managing or add a new building here. This page will show you a table that list all your location.
Add New Location
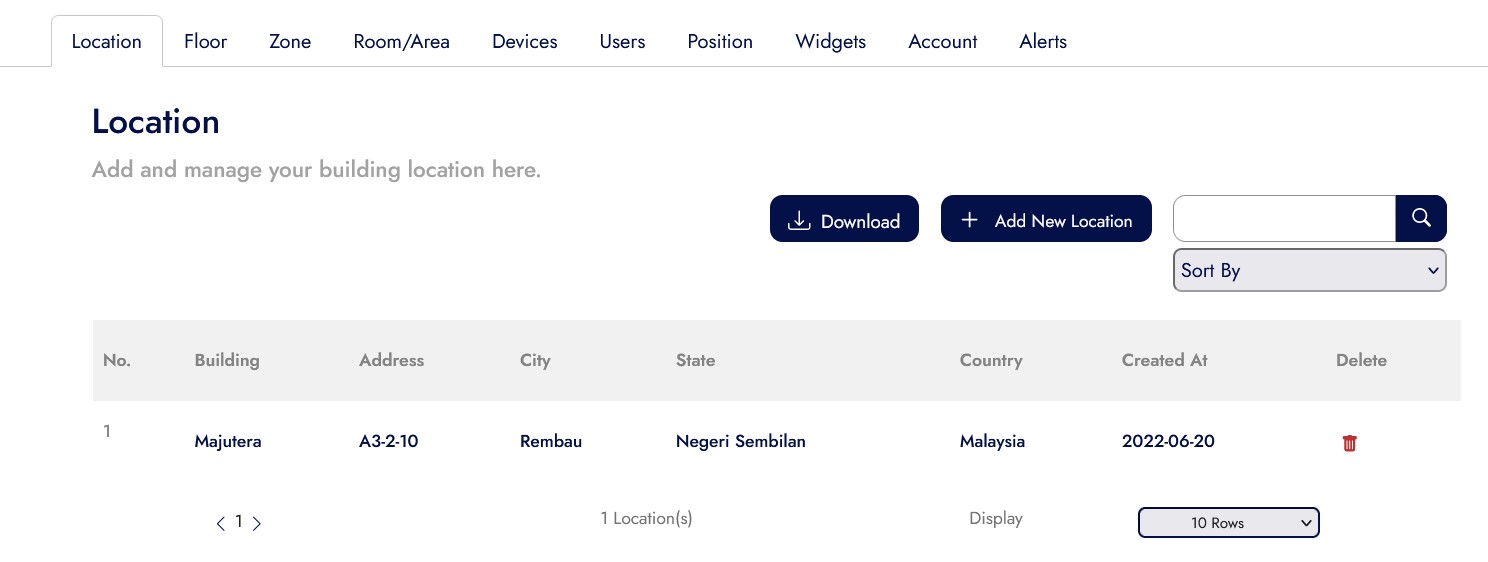
- To add a new location click on “+ Add new location” button.
- The system will popup a form.
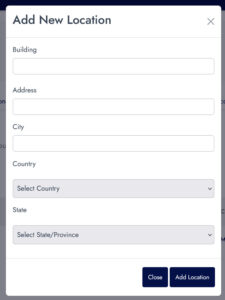
- Enter you building name, the address and city.
- On the drop down box, select your country and state provide in the option given.
- Click “Add location” to wrap it up and added new location into the system database.
- If you want to cancel, simply click on “Close” button.
Remove Location
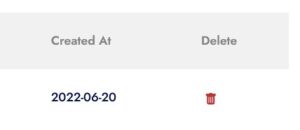
- To remove the location, click on trash icon on the selected row table
- You will receive a confirmation alert, click “Ok” to continue or “Cancel” to cancel. (Delete data cannot be recovered)
Floor
Floor module is to view floor status and employee presence there and you can view which employee are currently on floor or not. To start, simply click on the floor tab at the settings
Add New Floor
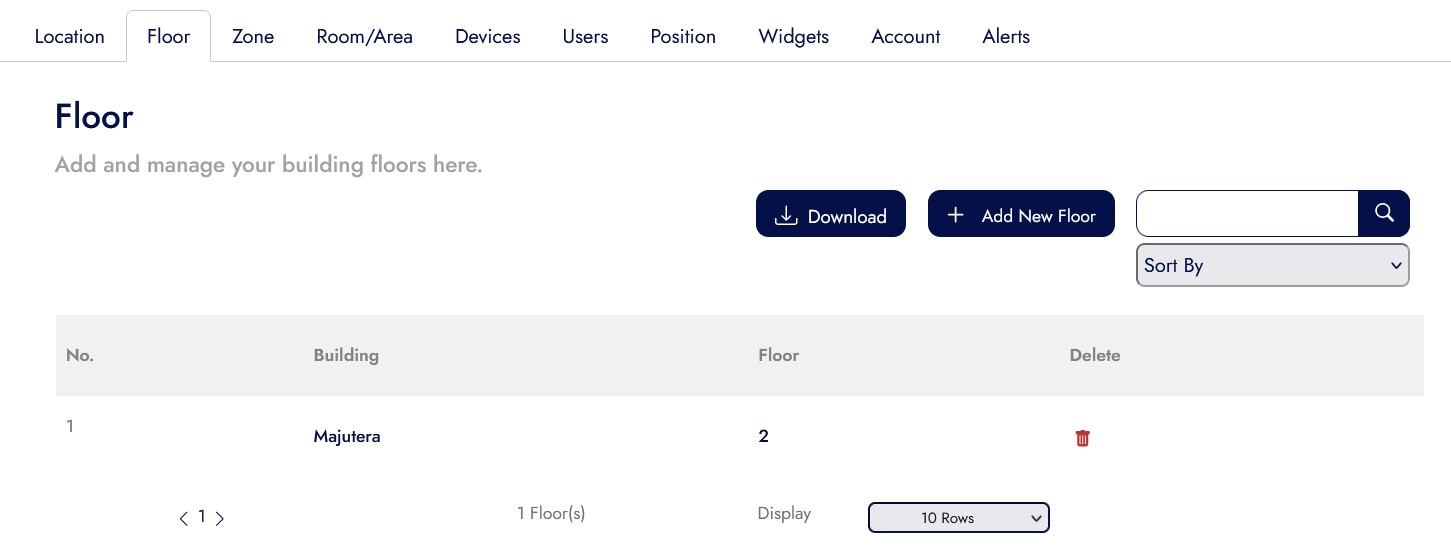
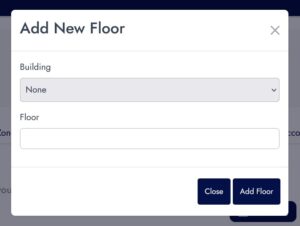
- Add New Floor click on “Add New Floor” button and a form will appear on screen.
- On the “Add New Floor” form, selected the building and then enter the floor name.
Delete Floor
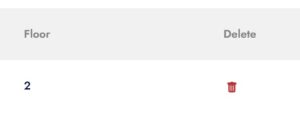
- To remove the floor, click on trash icon on the selected row table
- You will receive a confirmation alert, click “Ok” to continue or “Cancel” to cancel. (Delete data cannot be recovered)
Zone
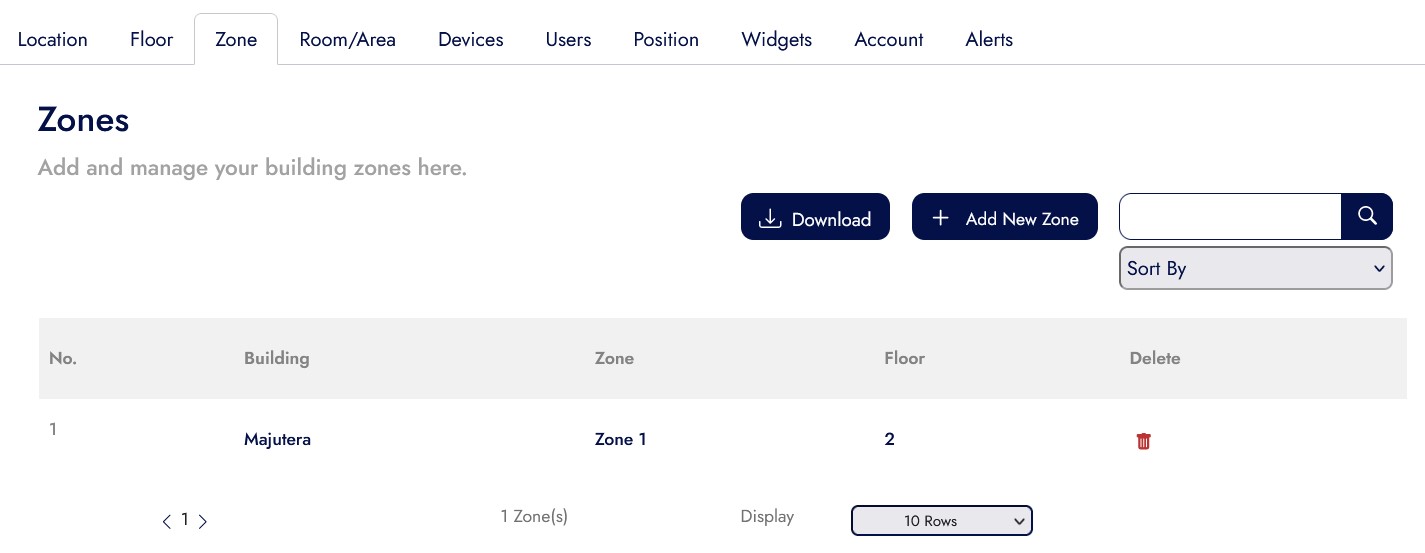
Zone module is to display building zone, certain workspace sometimes have certain zones.
Add New Zone

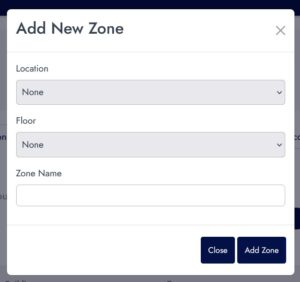
- To add a new zone click on “Add New Zone” button.
- Add New Zone form will popup.
- Fill in the location in the empty text box.
Delete Zone
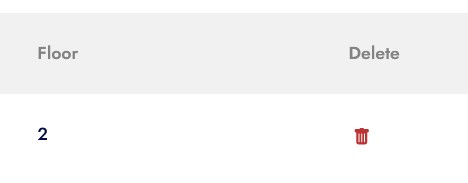
- To remove the zone, click on trash icon on the selected row table
- You will receive a confirmation alert, click “Ok” to continue or “Cancel” to cancel. (Delete data cannot be recovered)
Room/Area
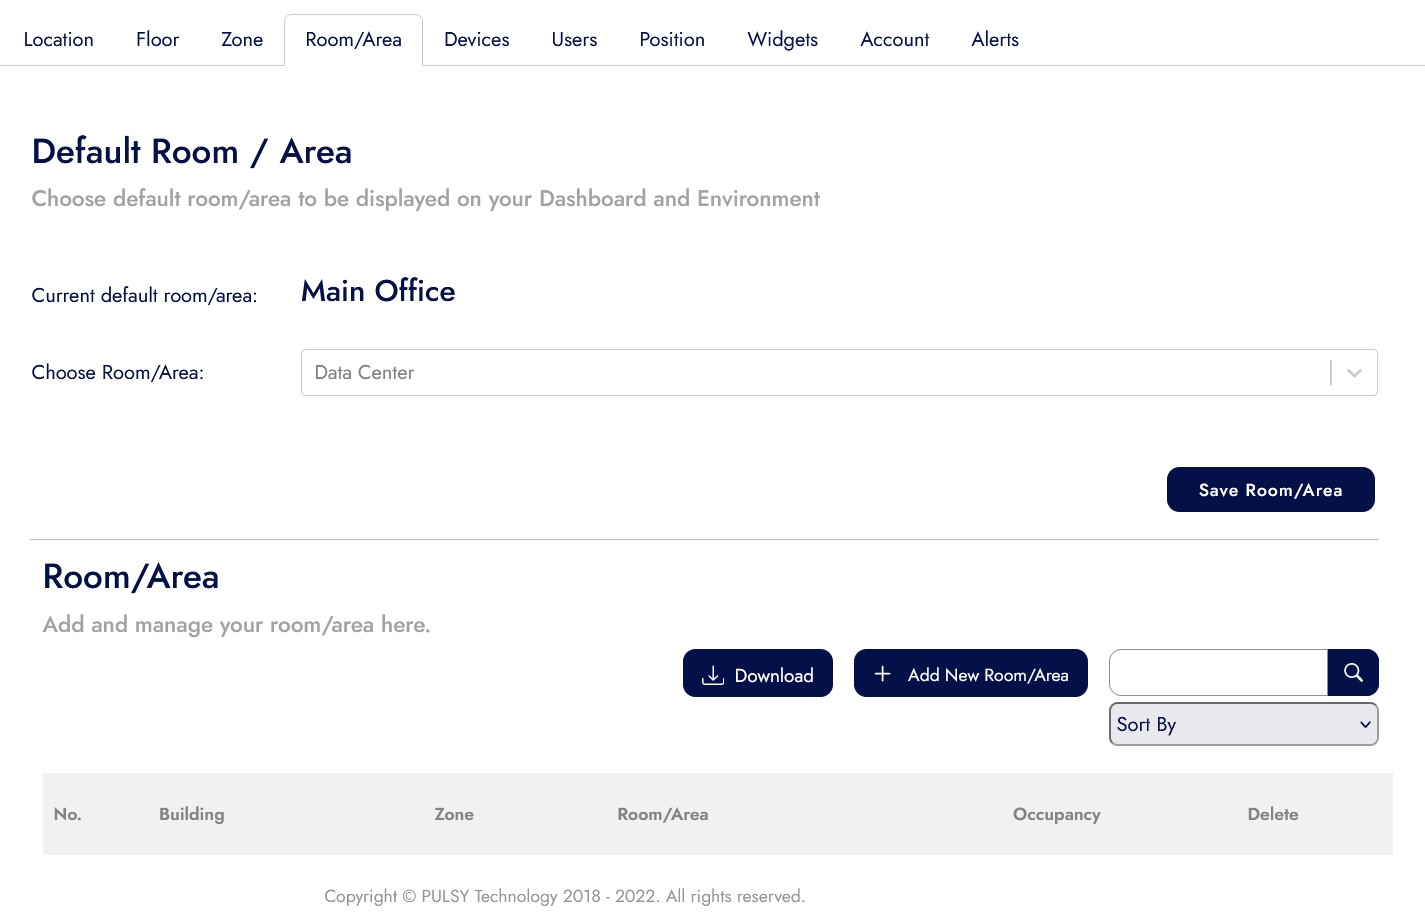
Room/Area module is to view room and status of employee present in the room. There also function to choose default room/area to be display at the Dashboard.
Default Room/Area
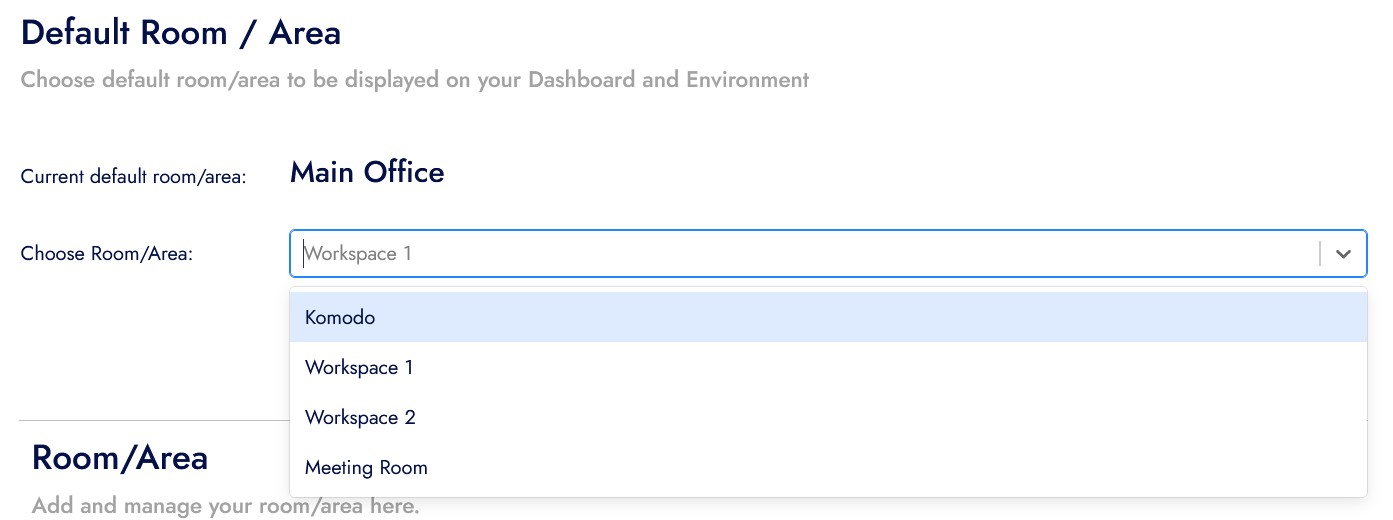
- To choose room/area, click on drop down textbox and select the room/area in the list.
- After you have selected your default room/area, click on “Save Room/Area” to keep the data.
- Refresh the page if nothing changed.
Add New Room/Area
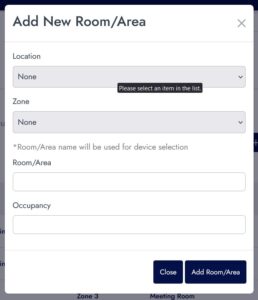
- To add a new room/area click on “Add New Room/Area” button.
- New form will popup on the screen.
- Select the location and zone on the dropdown textbox.
- Enter room/area name.
- Enter the total occupant in that room
- Click “Add Room/Area” to save.
- Click “Cancel” to cancel add.
Devices
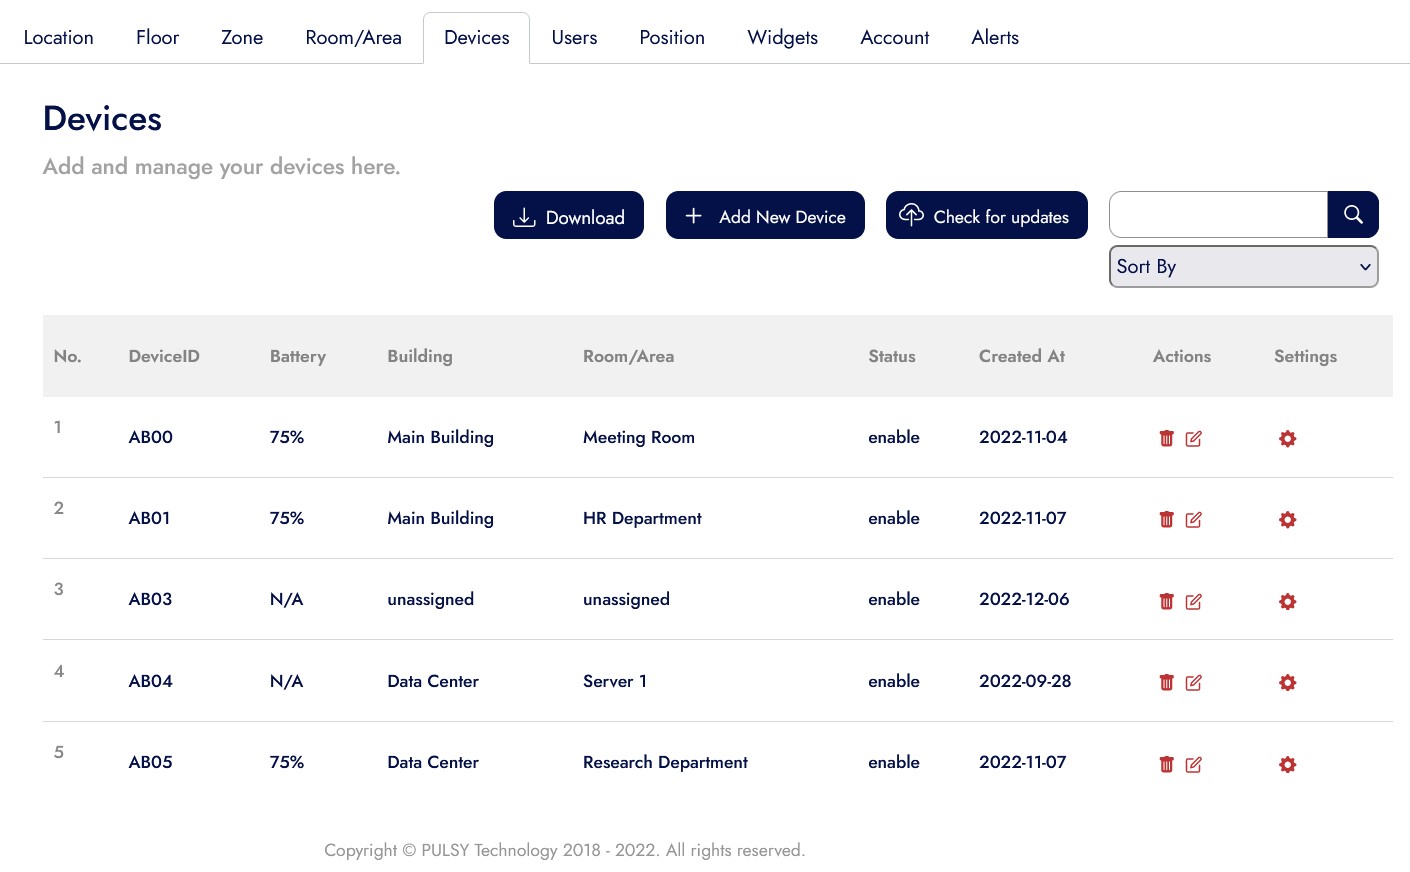
This Device page is to show and manage all available devices
- On the table, are show all your device name, status and other.
- Certain device may show N/A status on battery column because it used direct power supply.
Add New Device
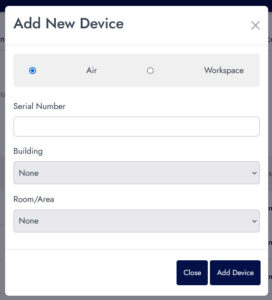
- To add a new device simply click on “Add New Device” button.
- Make sure to enter correct serial number of the device, also make sure to select correct device.
- After that simply select building and room/area for where the device will be installed.
- Click “Add Device” to add the device.
- Click “Close” to cancel.
Device Update
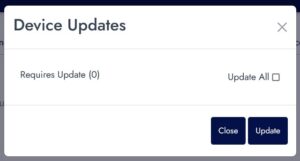
- To update the device, click on “Check for Update“.
- Select the device that required update.
- Check on “Update All” to update all the device
- Click on “Update” button to start updating.
- Let it update for a few minute.
- Click “Close” to cancel update.

Change Device Location
- To change device location, inside the table on Action column, click on the edit icon to change device location.
- A new form will popup on screen.
- Select the building/room/area/zone/floor to assign the device on new location.
- Click on “Assign Location” button to assign it to new location.
- Click “Close” to cancel.
Enable/Disable Device
- To enable or disable the device, in the table on settings column, click the on gear icon.
- Turn it on to enable the device.
- Turn it off to disable the device.
- click “Save” to confirm your setting.
- Click “Close” to close the popup.
Users
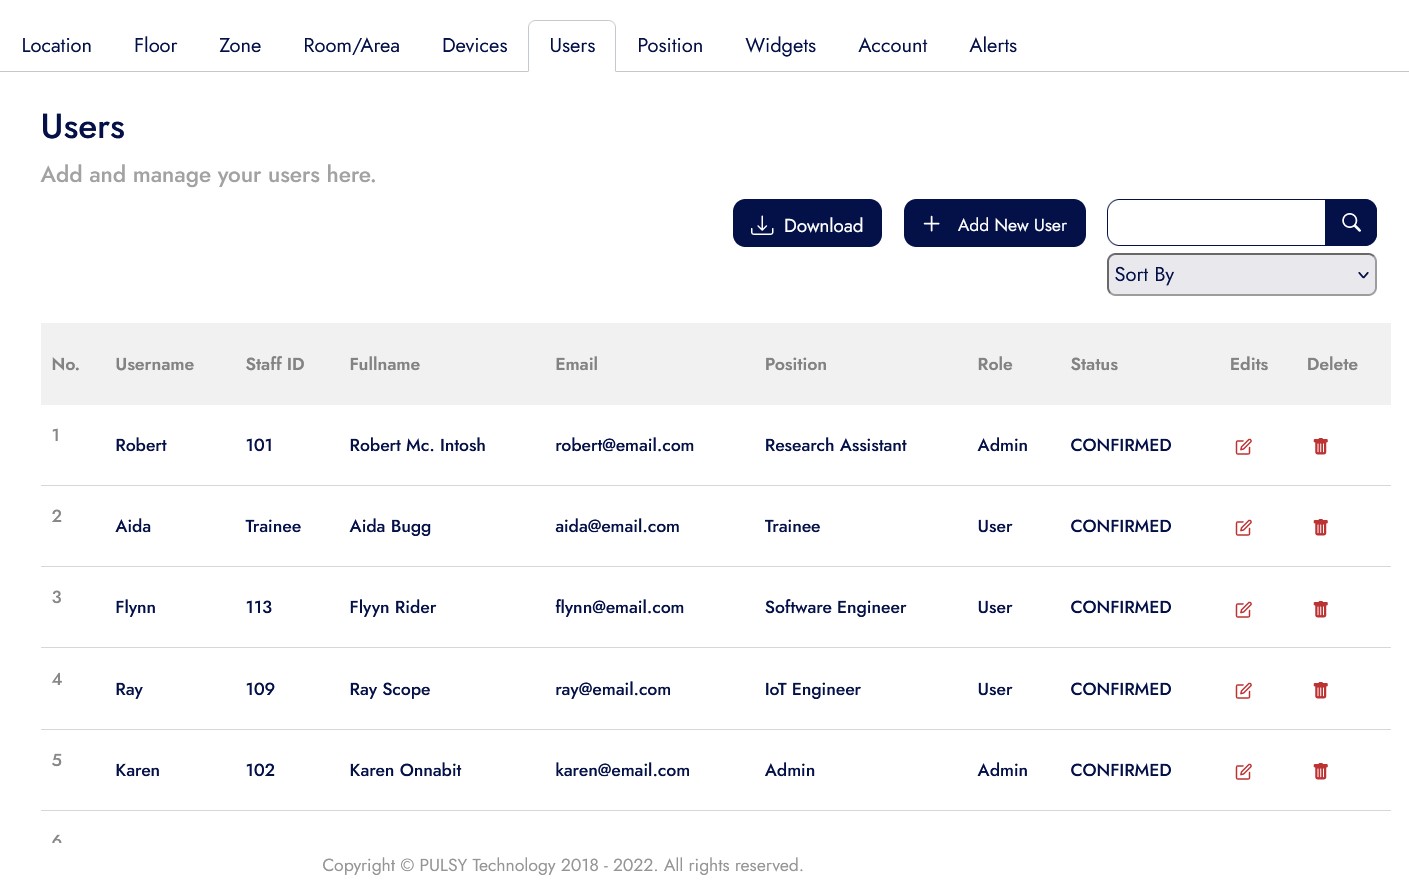
On this tab are used to manage and adding a new user.
Add New User
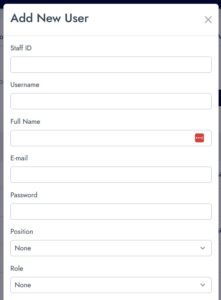
- To add a new user simply click “Add New User” button
- Fill all the blank text box with the user information.
- Make sure the email address use are the correct one (because the system will need to verify the user).
Edit Access
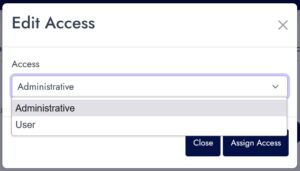
- To edit user, in the table. Click edit icon on the selected column that want to edit/change.
- There will be a drop down and simply select any desire access.
- Click “Assign Access” to save it.
- Click “Close” to cancel.
Delete User
- To delete the user, click on trash icon on the selected row table
- You will receive a confirmation alert, click “Ok” to continue or “Cancel” to cancel. (Delete data cannot be recovered)
Position
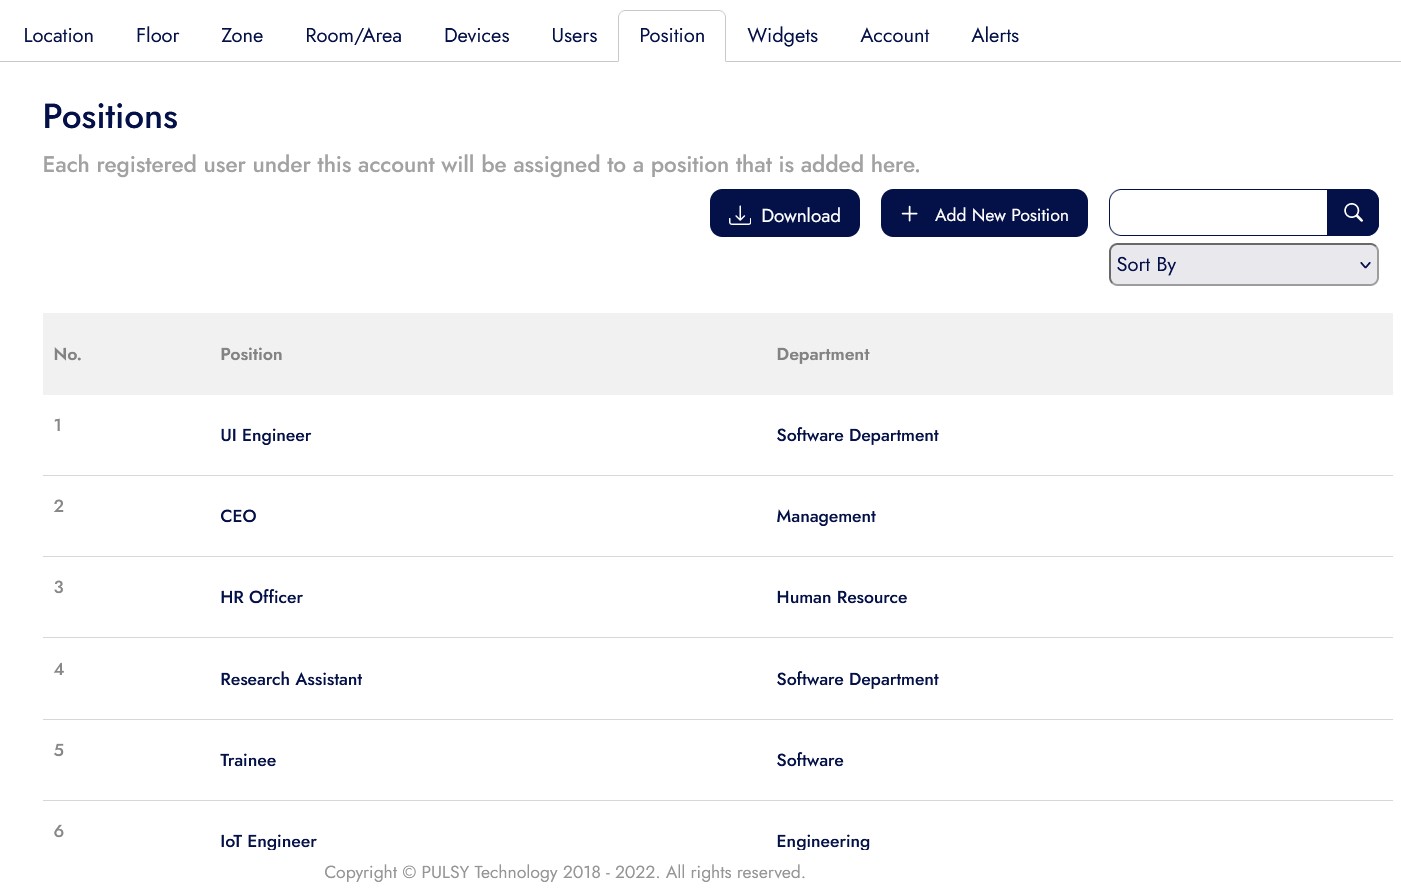
Position is used to add a new position inside the company or agency.
Add New Position
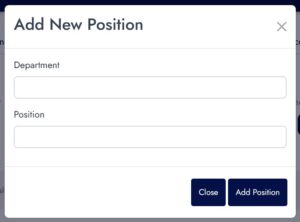
- To add a new position, simply click “Add New Position”
- Enter the department name.
- Enter the position name.
- Click “Add Position”.
- Click “Close” to cancel add.
Widgets
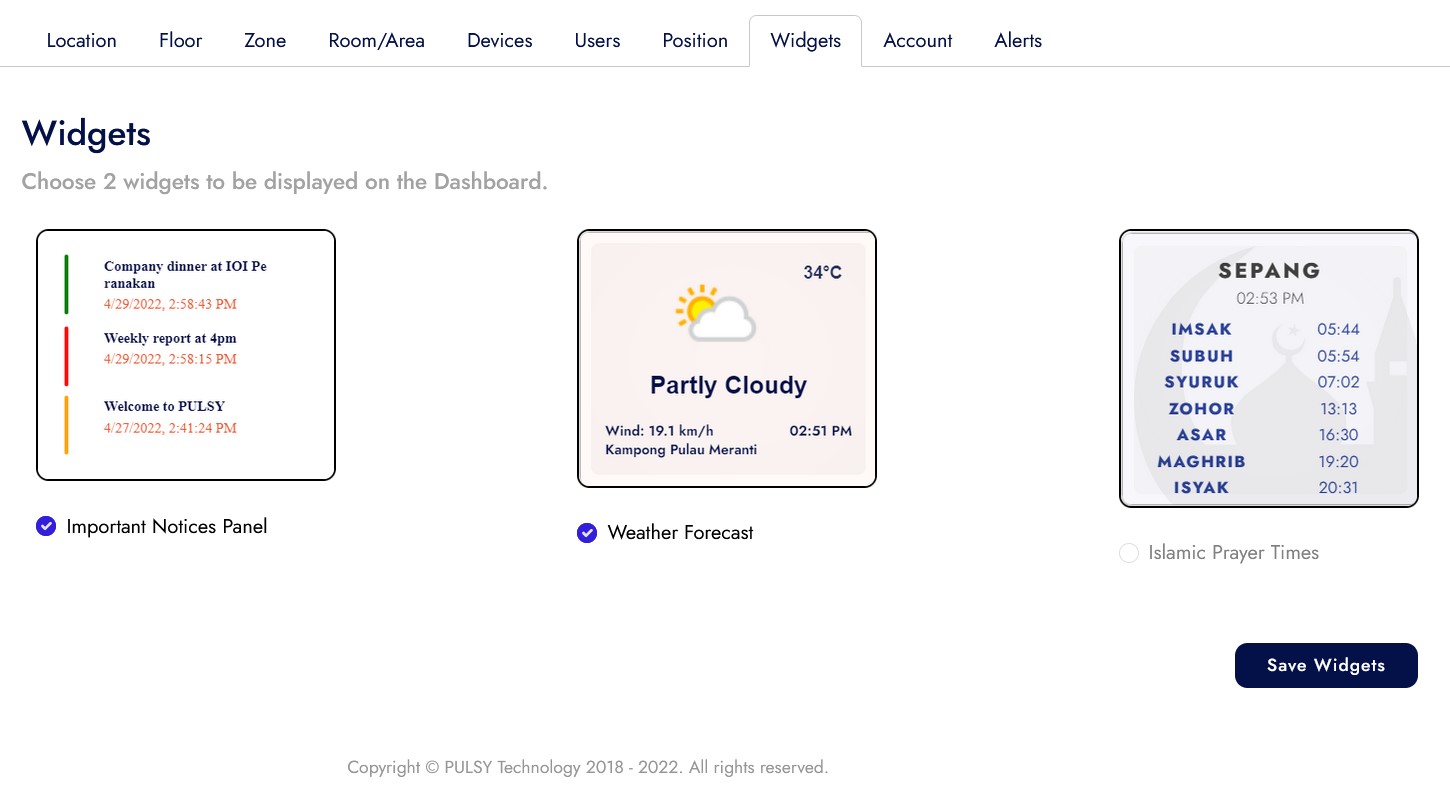
Widgets are for dashboards view based on the selected components like weather, notice or prayer time.
- You can configure your own widget which shows you the status of your selected components.
- Tick any gadget to display then click “Save Widgets” buttons.
Account
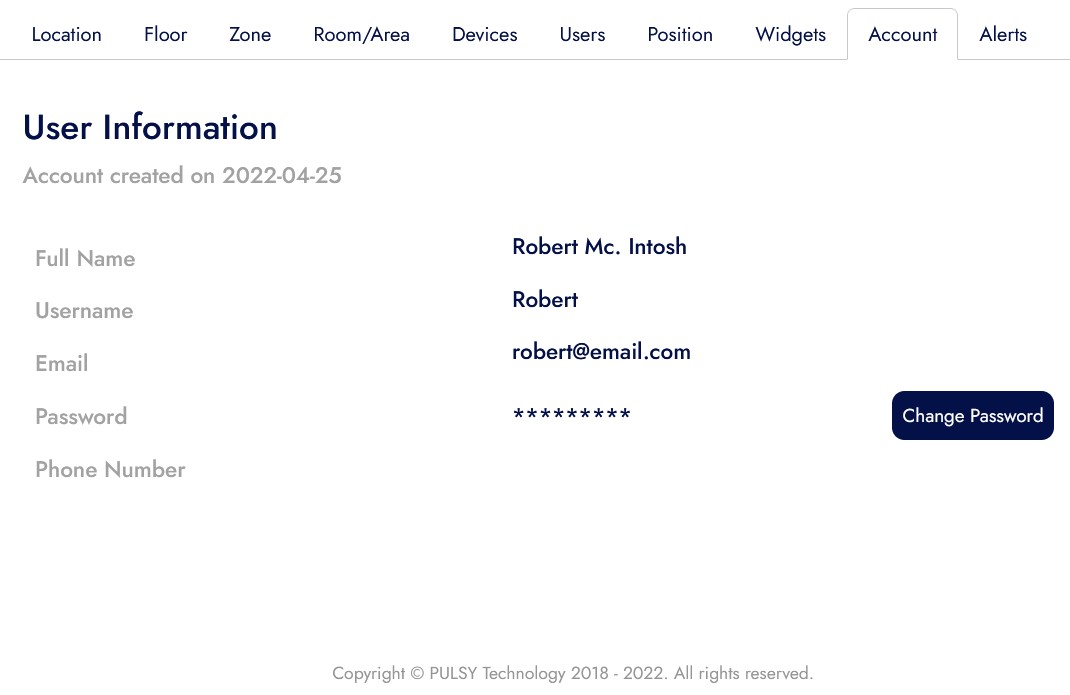
Account are simply just showing information about the current log in user, here you can change the password of your accounts.
Change Password
- To change the password, click on “Changed Password” button.
- Enter you new password.
- Click on “Change Password” to save it.
- Click “Close” to cancel.
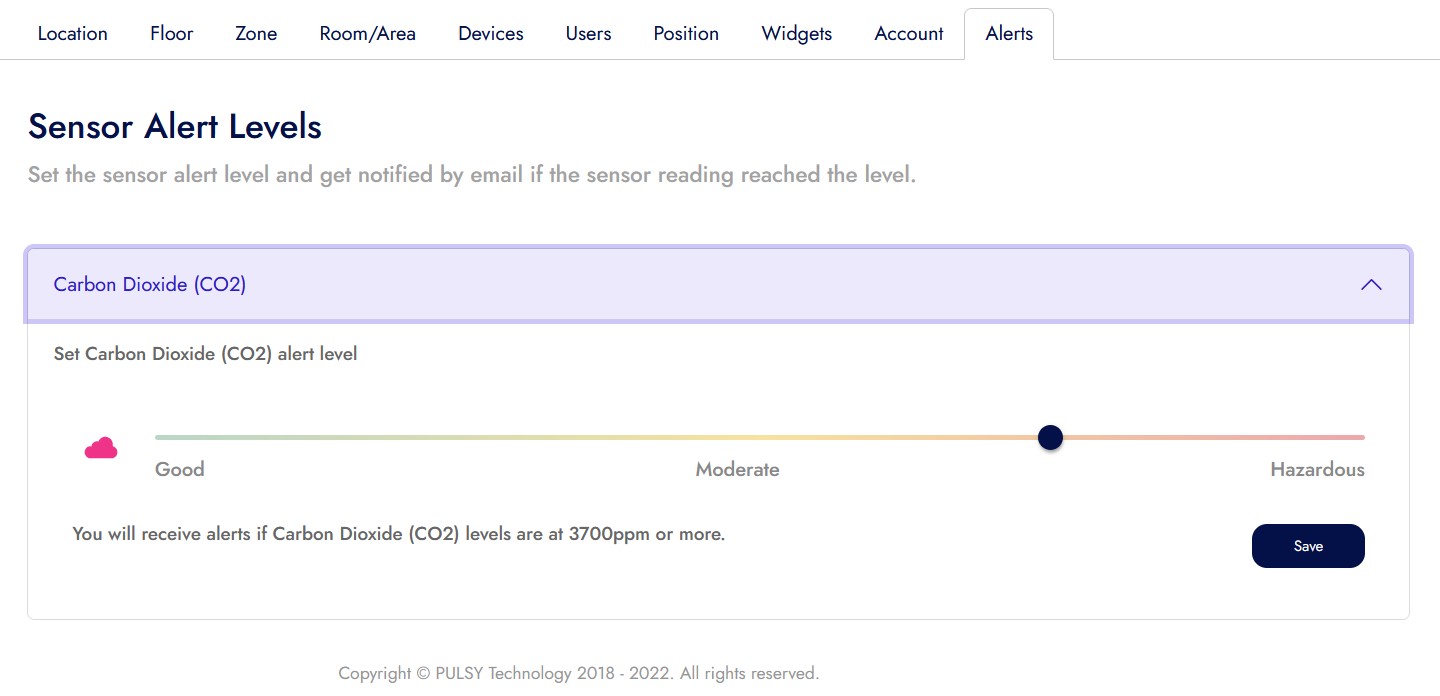
Alerts
Alerts are used to set the sensor alert level to receive a notification through email on notification in app.
- Click on the “Carbon Dioxide (CO2)” accordion. To open/dropdown the alert level setting.
- Drag the alert level to desire ppm
- Click “Save” button to save it
- Leave it if you doesn’t want any change made.
Delete Your Account
- In order to delete your account.
- You need to contact us, instead of doing it by yourself.
- Log in into the system, app.pulsy.io.
- On the left menu bar, you can find a support menu at the very last item.
- Fill in all of your information here and make sure to use correct email and name.
- Put your subject as “Account Deletion” or anything that is related to account termination.
- Give as a message on how and what the problem occur.
- This process may take a week and more depend on the team.
“The goal as a company is to have customer service that is not just the best but legendary.”
if you have any questions, concerns, or problems related to your account or the Team Support, please do not hesitate to reach us via the contact information below.
